ALOHAN/WTRUCK & TRAILER REPAIRS564-227-0360
Back to our work

Work that speaks for itself

Before & After

Our work is completed with care from the first inspection through the final check. This page highlights the problems we find, the repairs we complete, and the clean result.

What we handle

Complete, dependable service

Every job begins with a careful inspection and clear communication. We focus on the actual cause, explain what the equipment needs, and verify the work before it returns to service.

Failed-part identification
Clear repair documentation
Quality replacement parts
Clean workmanship
System verification
Customer communication

From our repair log

Three air bags. One truck.

We replaced the left front, right front, and right rear drive air bags on this truck.

Completed repair

Repaired Left Front Drive Air Bag

New left front drive air bag installed.
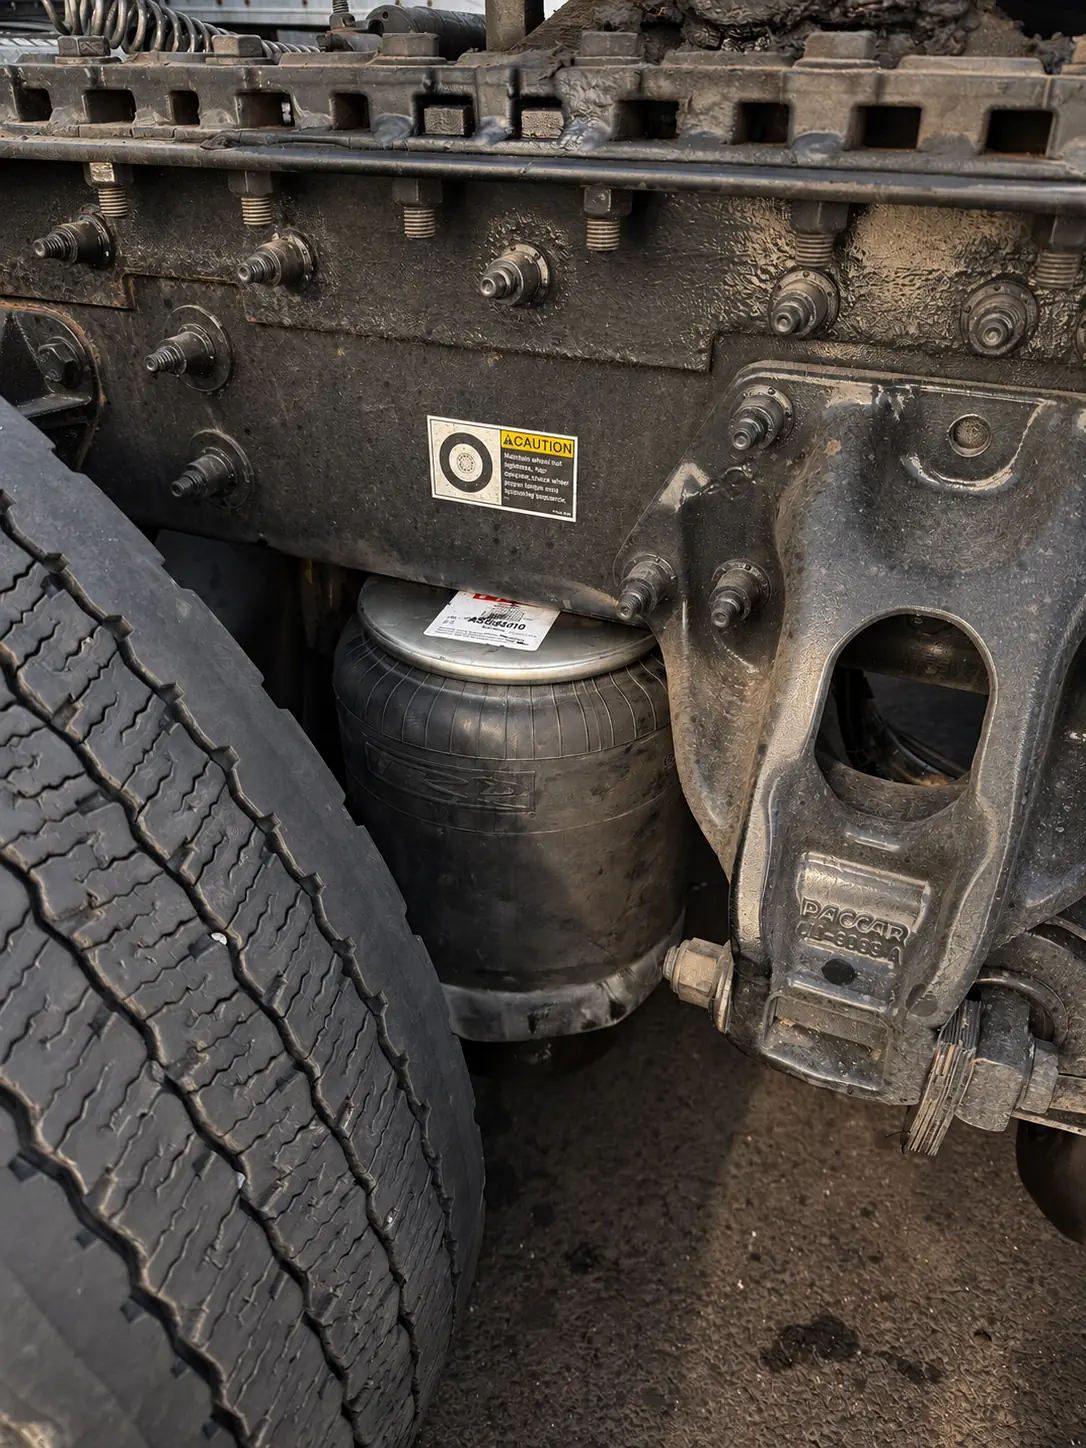
Completed left front drive air bag replacement, with the tire on the left and PACCAR hanger on the right
Left front drive · Completed repair

Same truck · Before & after

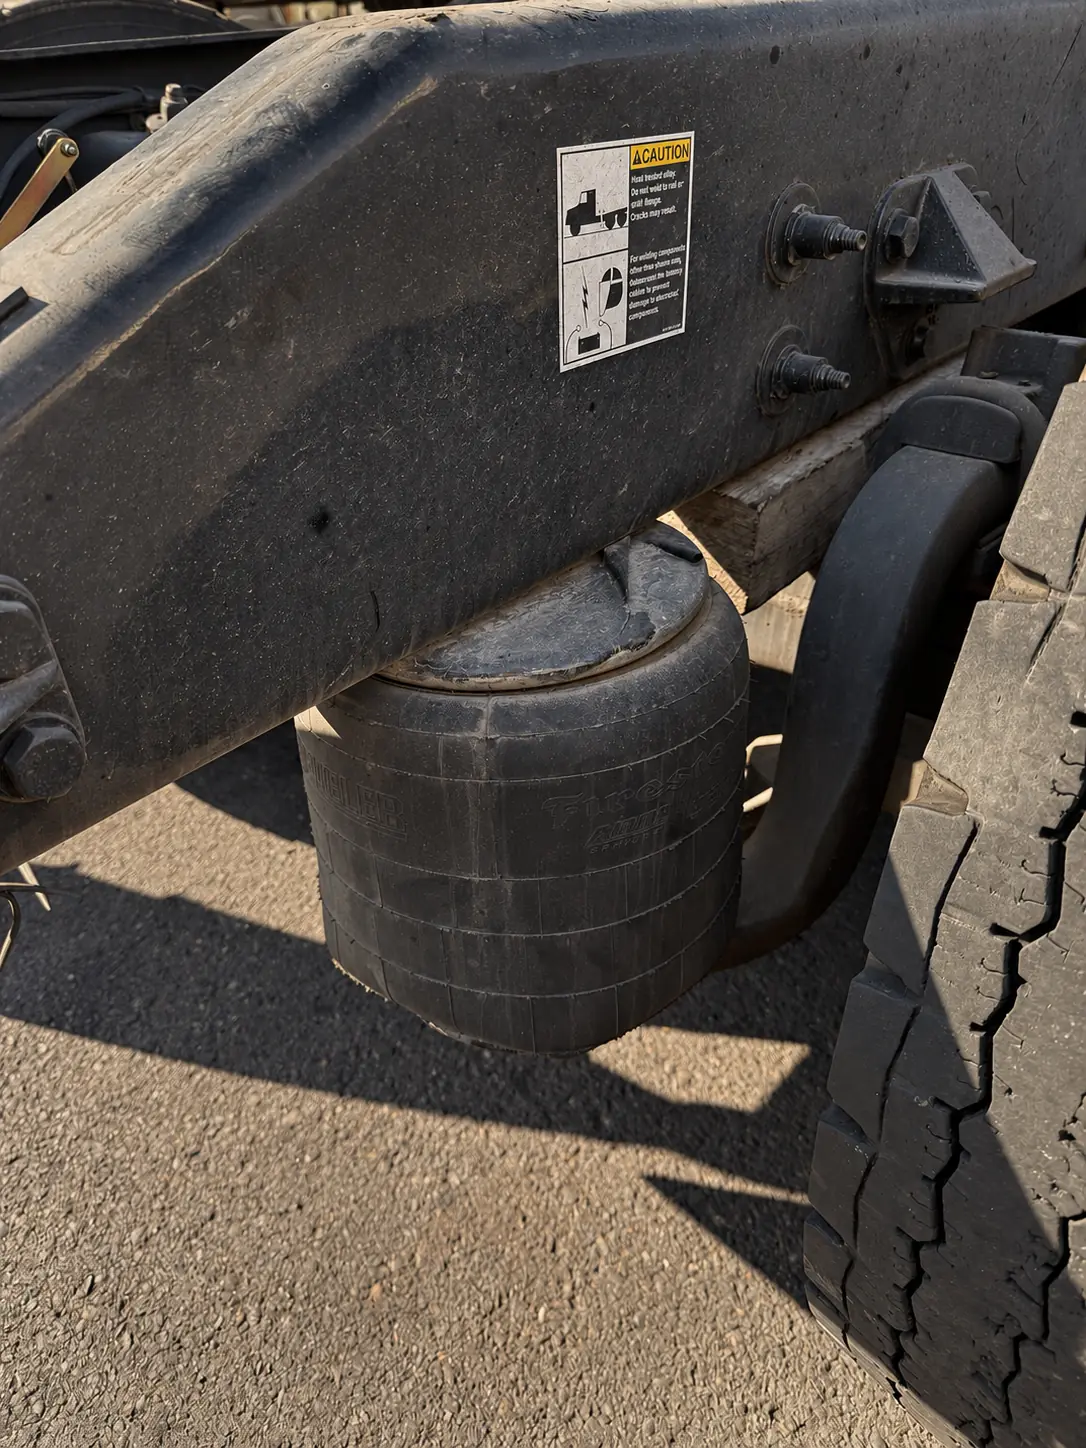
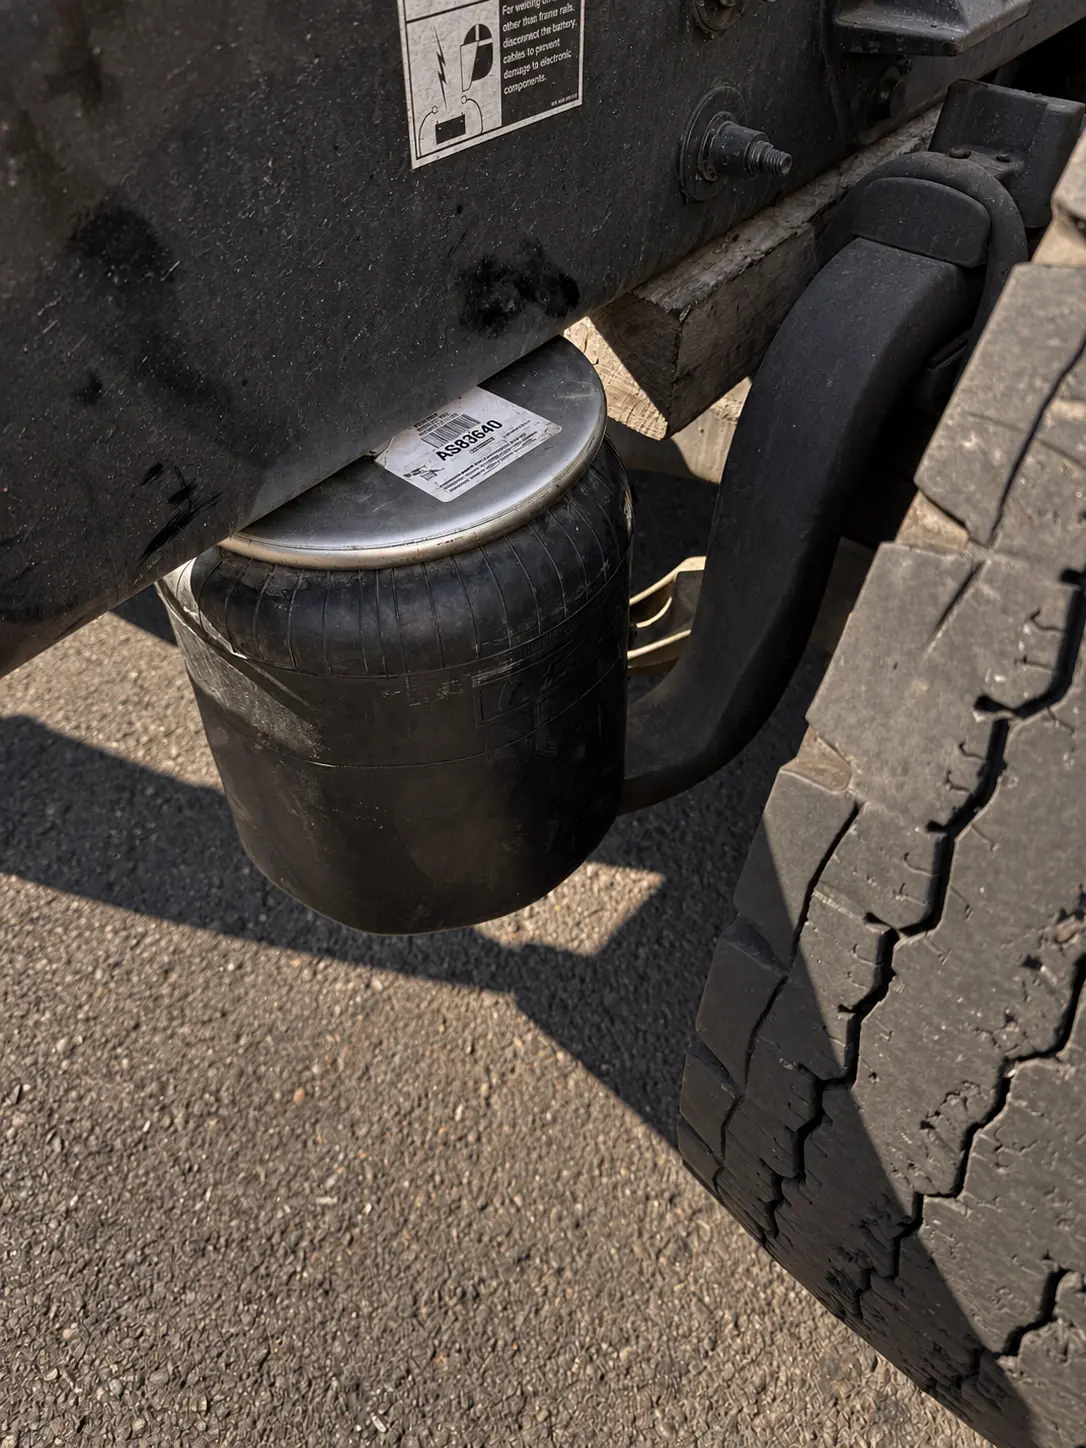
Right Front Drive Air Bag

Right front drive air bag replacement — before and after.
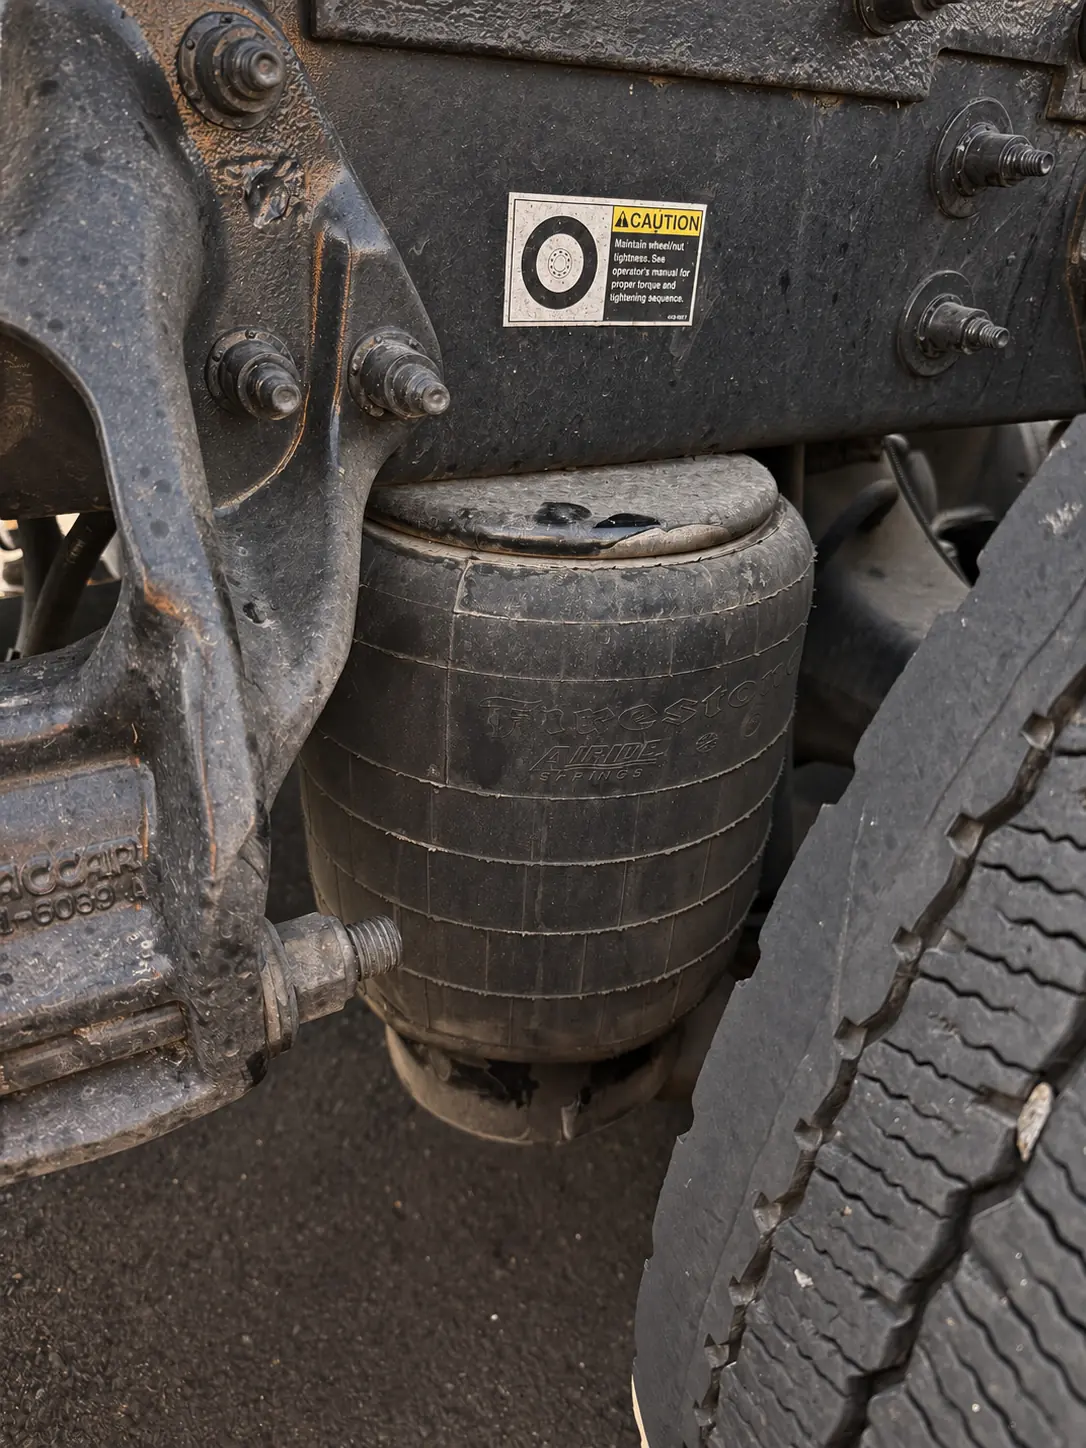
BeforeRight Front Drive Air Bag: original air bag before replacement
AfterRight Front Drive Air Bag: new air bag installed in the same position

Same truck · Before & after

Right Rear Drive Air Bag

Right rear drive air bag replacement — before and after.
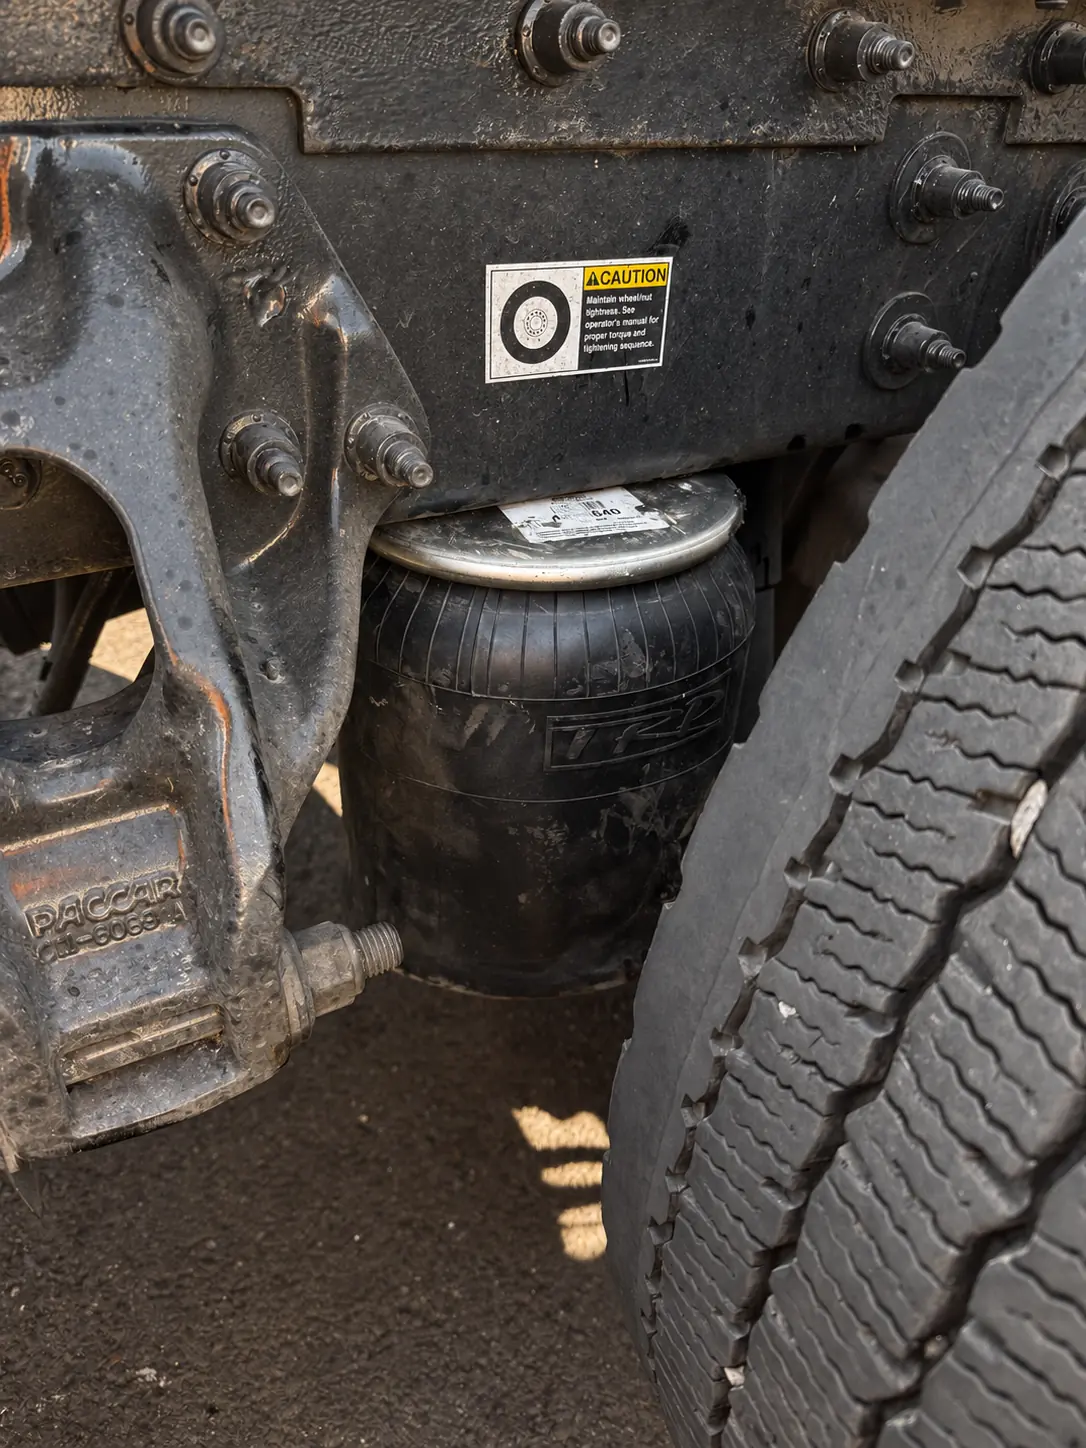
BeforeRight Rear Drive Air Bag: original air bag before replacement
AfterRight Rear Drive Air Bag: new air bag installed in the same position

Before & after

Repair transformation

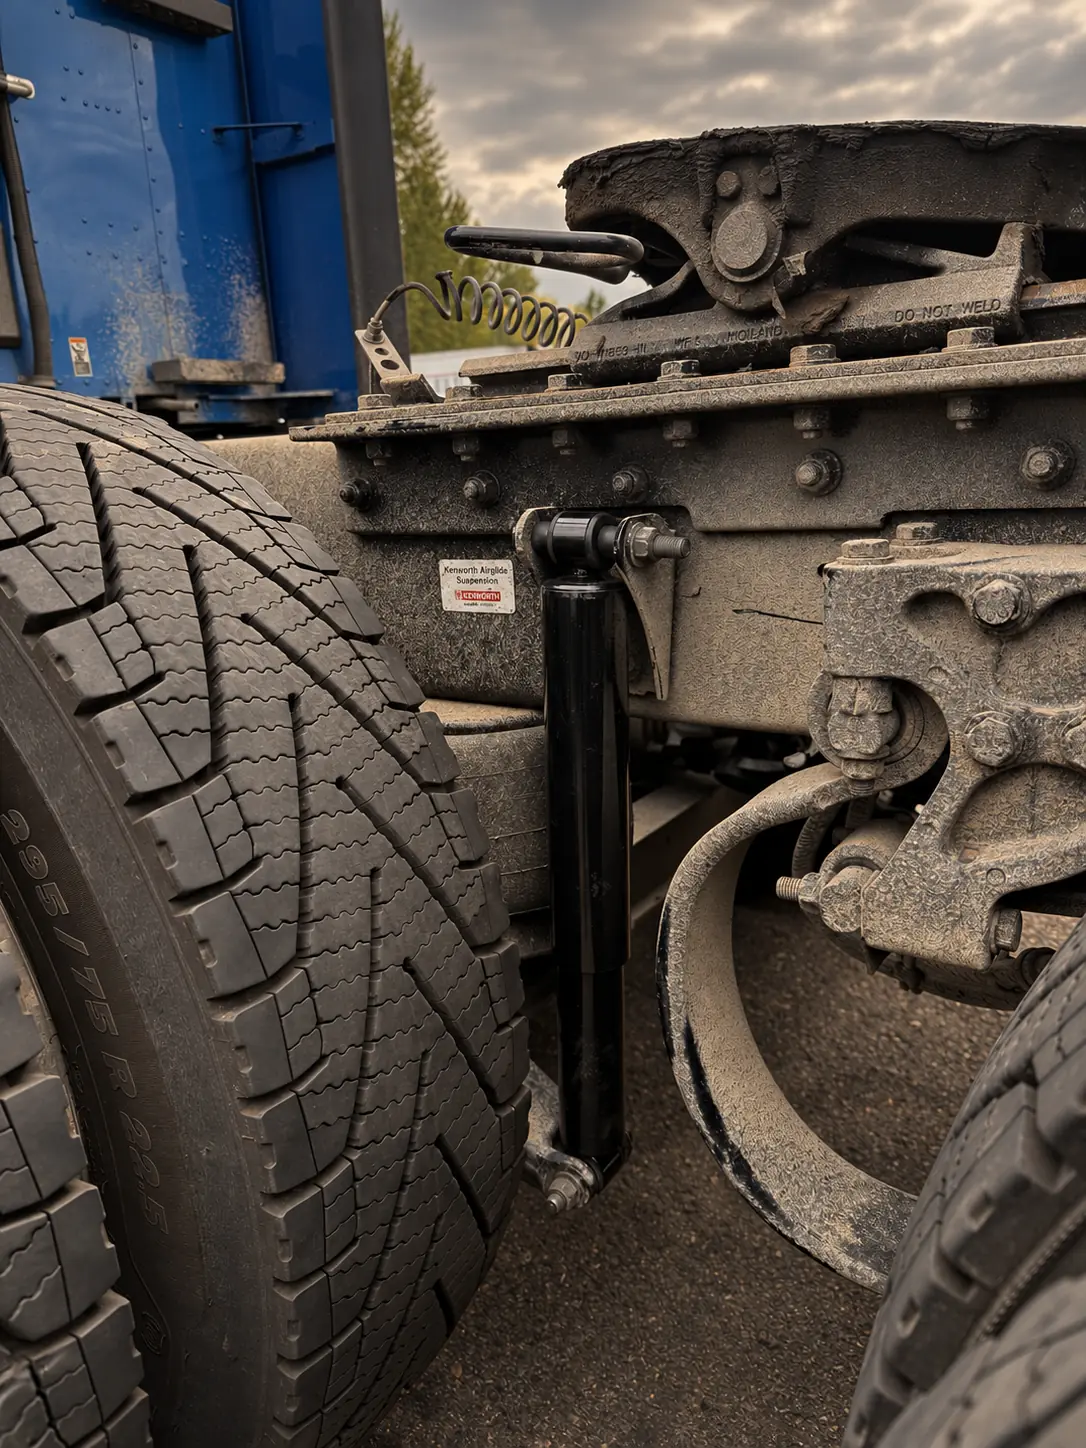
Front Drive Axle — Left Shock

The original left-side shock on the front drive axle, followed by the replacement installed at the same mounting point.
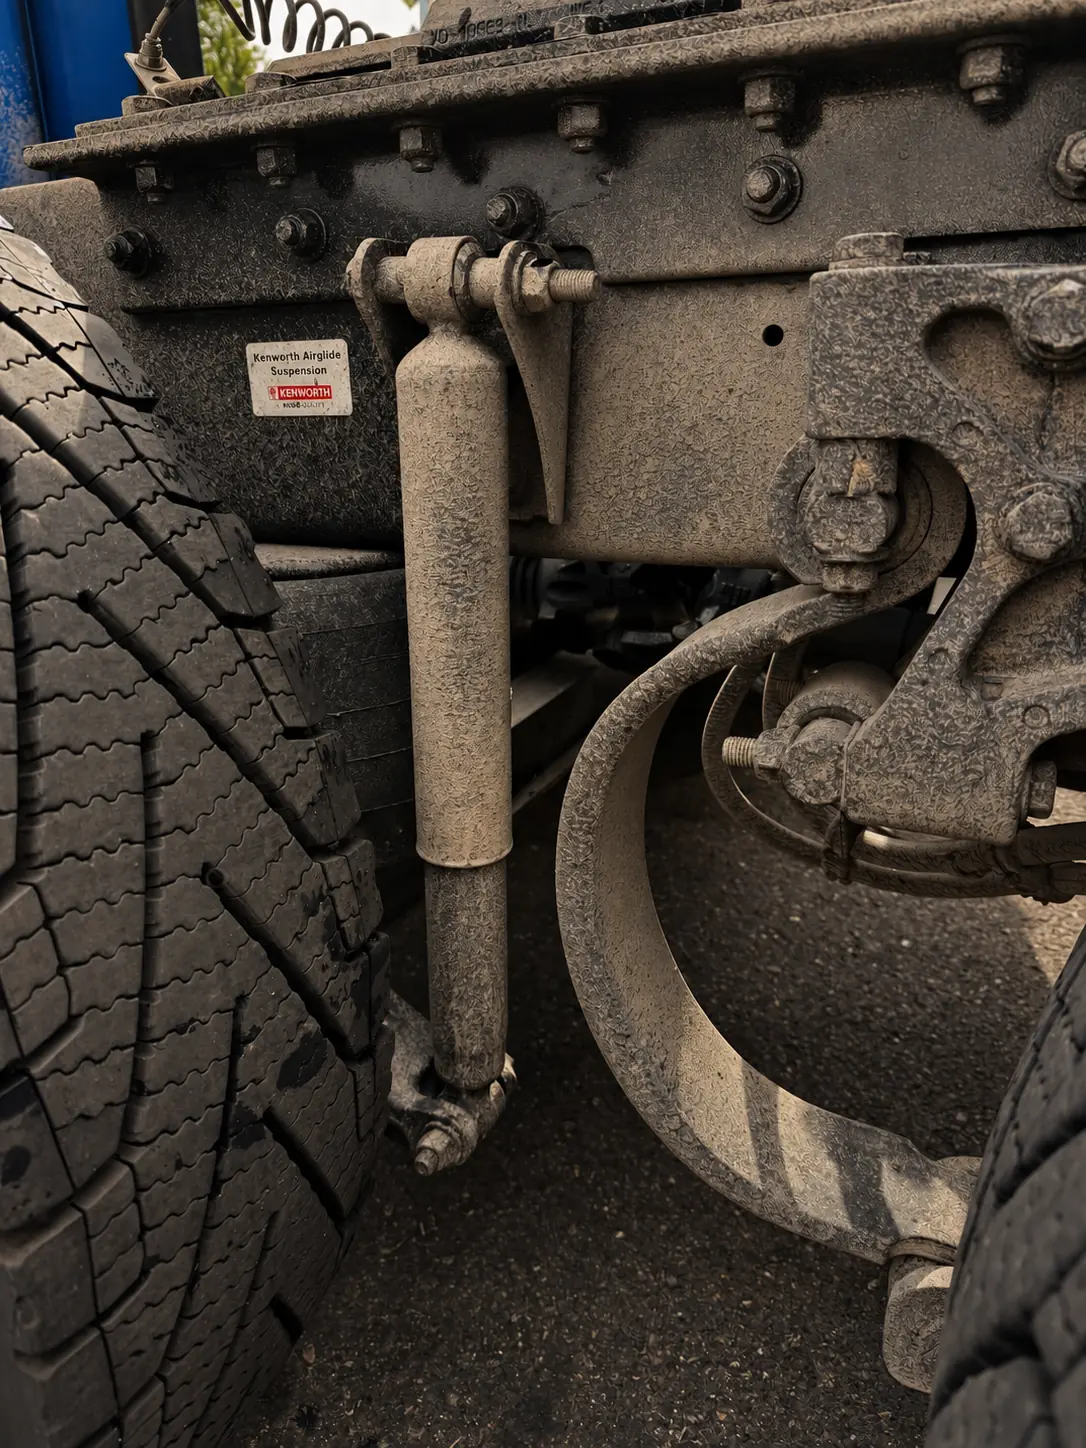
BeforeOriginal front drive axle left shock beside the Kenworth Airglide frame decal before replacement
AfterNew front drive axle left shock installed beside the same Kenworth Airglide frame decal

Repair transformation

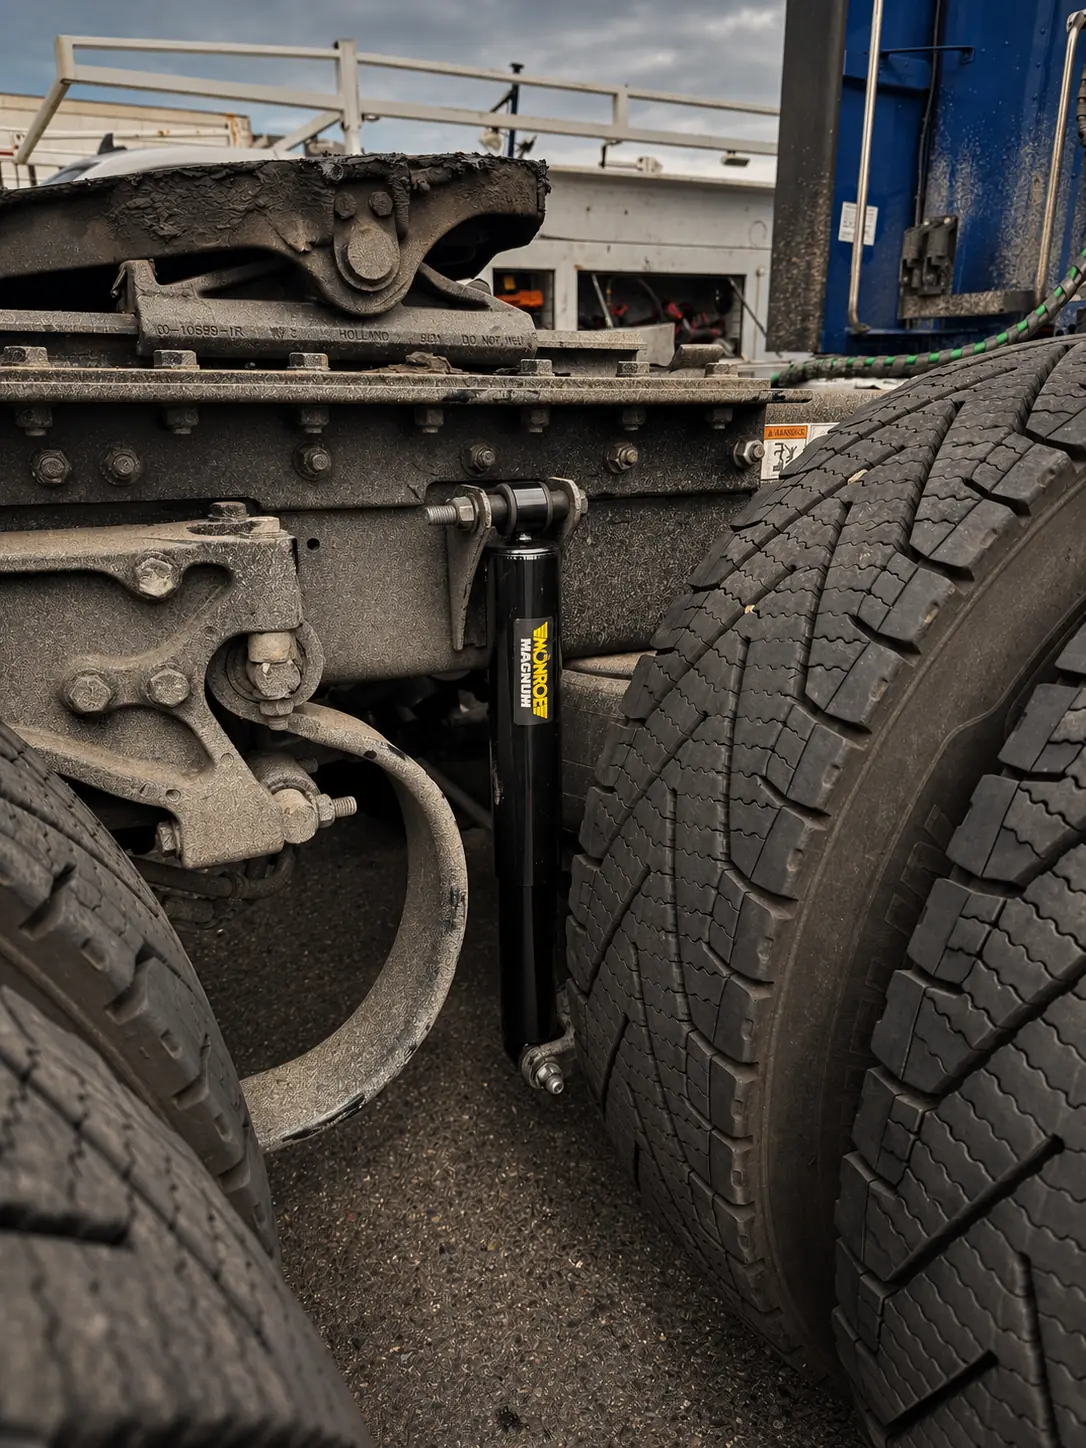
Front Drive Axle — Right Shock

The original right-side shock on the front drive axle and the new shock fitted between the drive tires.
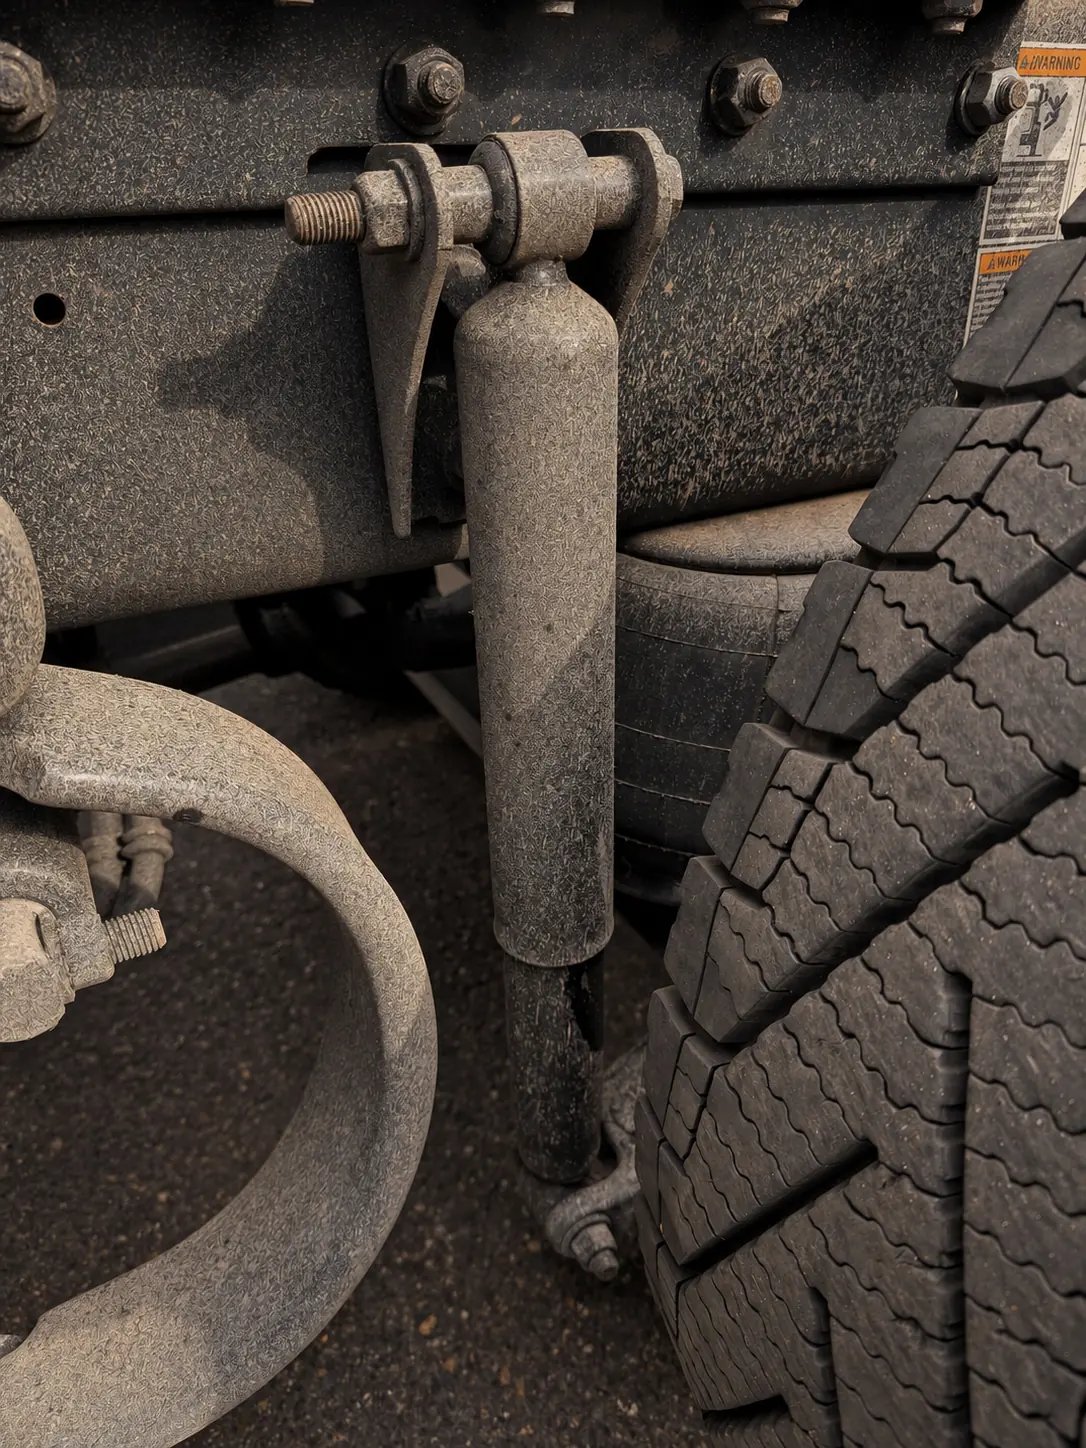
BeforeOriginal front drive axle right shock beneath the fifth-wheel rail, with the spring hanger on the left
AfterReplacement front drive axle right shock at the same mount, with the spring hanger on the left

Repair transformation

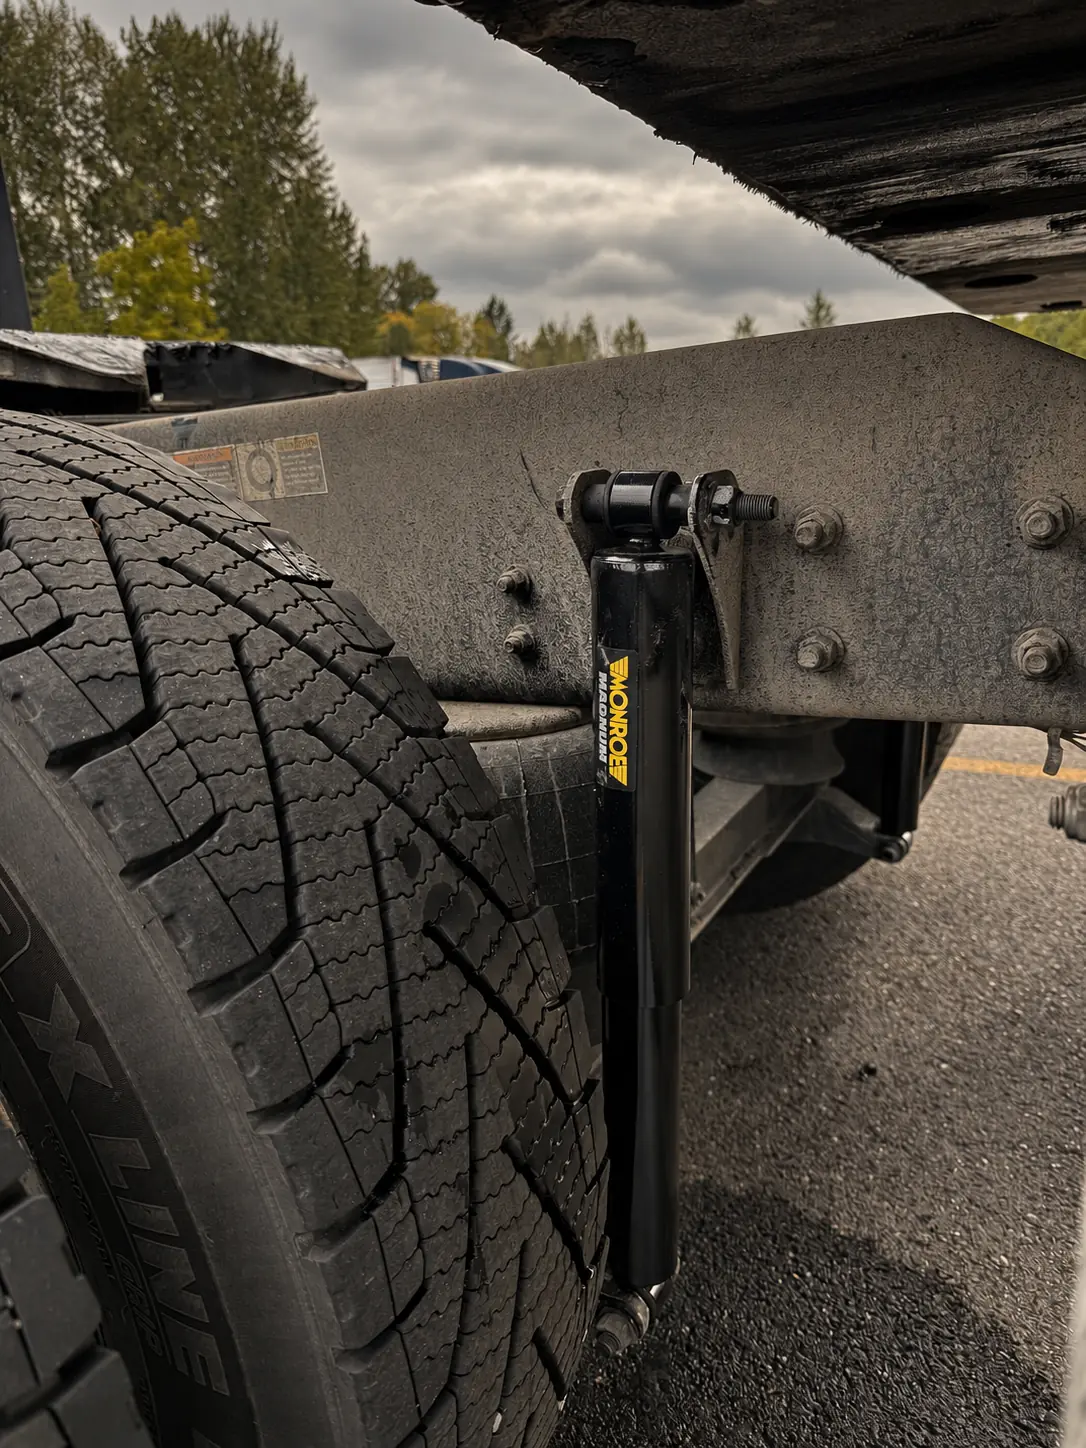
Rear Drive Axle — Left Shock

The left-side shock on the rear drive axle before replacement and the newly installed shock in the same position.
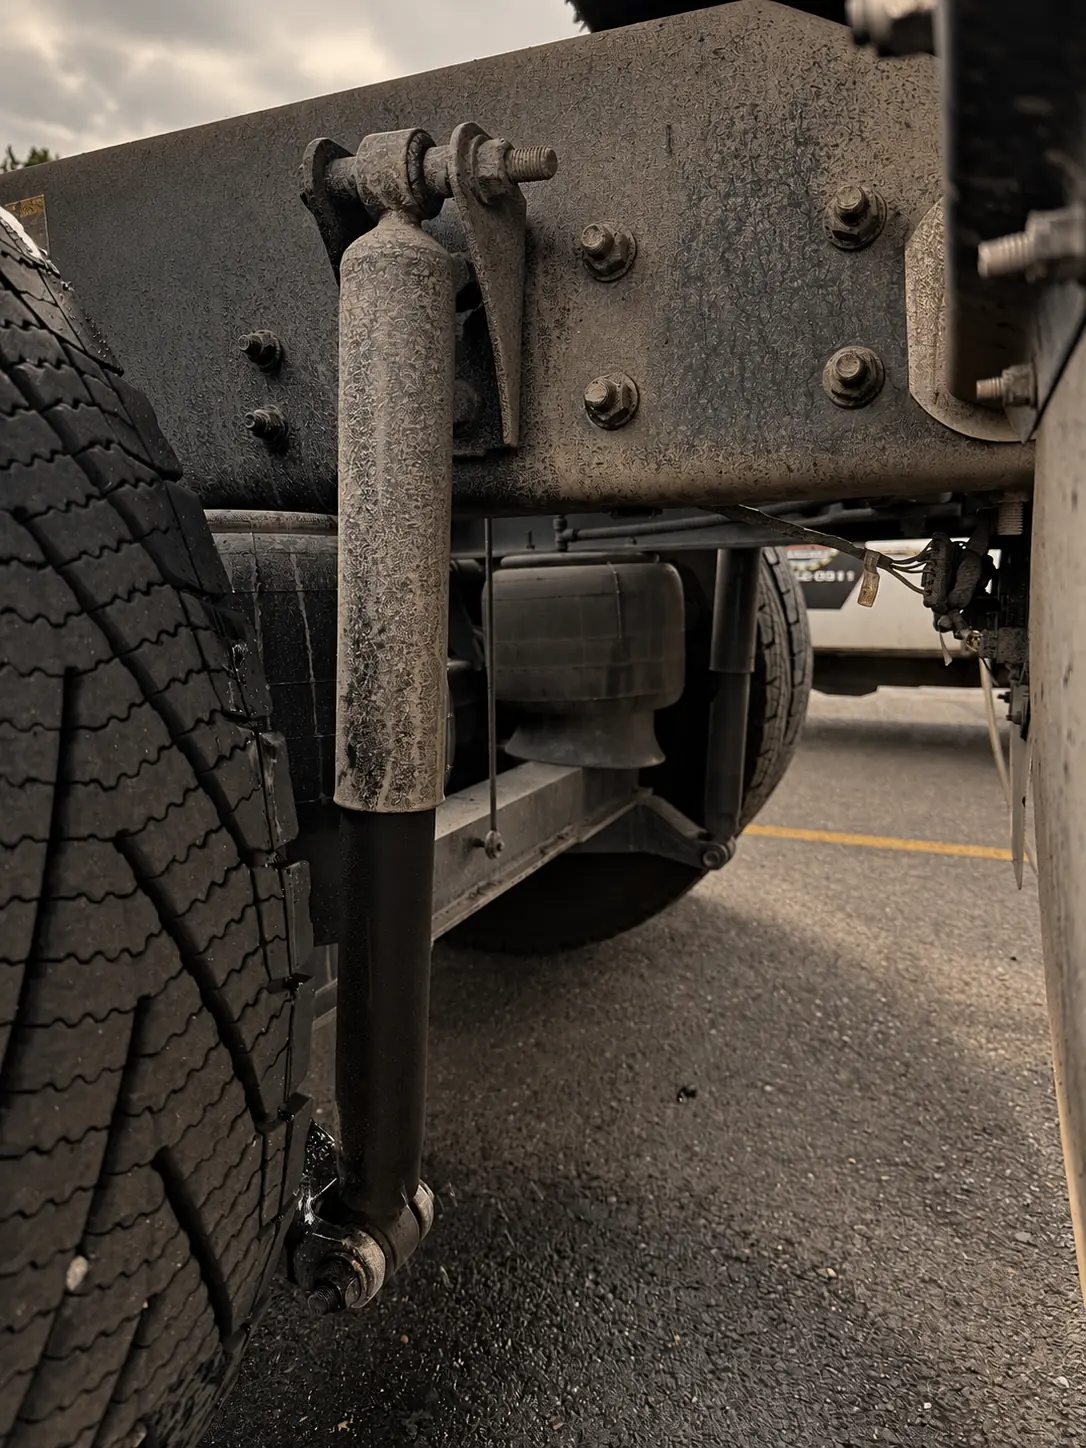
BeforeOriginal rear drive axle left shock with two small frame studs on the left and four mounting bolts on the right
AfterNew rear drive axle left shock beside the same frame studs and four-bolt pattern

Repair transformation

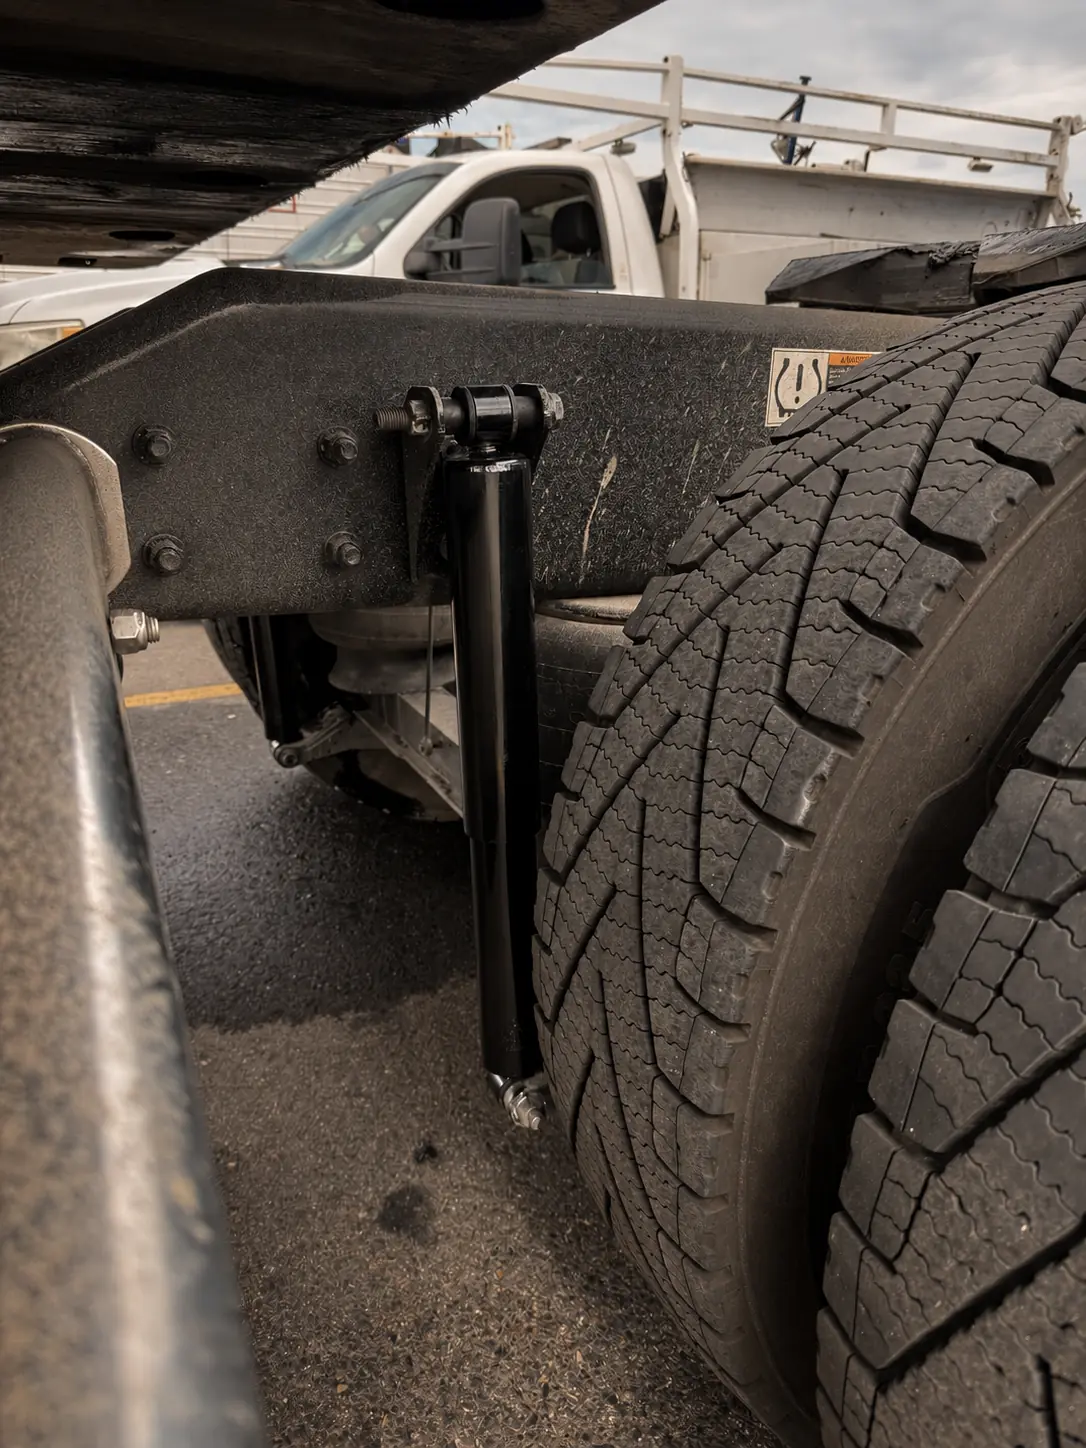
Rear Drive Axle — Right Shock

The original right-side shock on the rear drive axle, followed by the completed replacement at that mounting point.
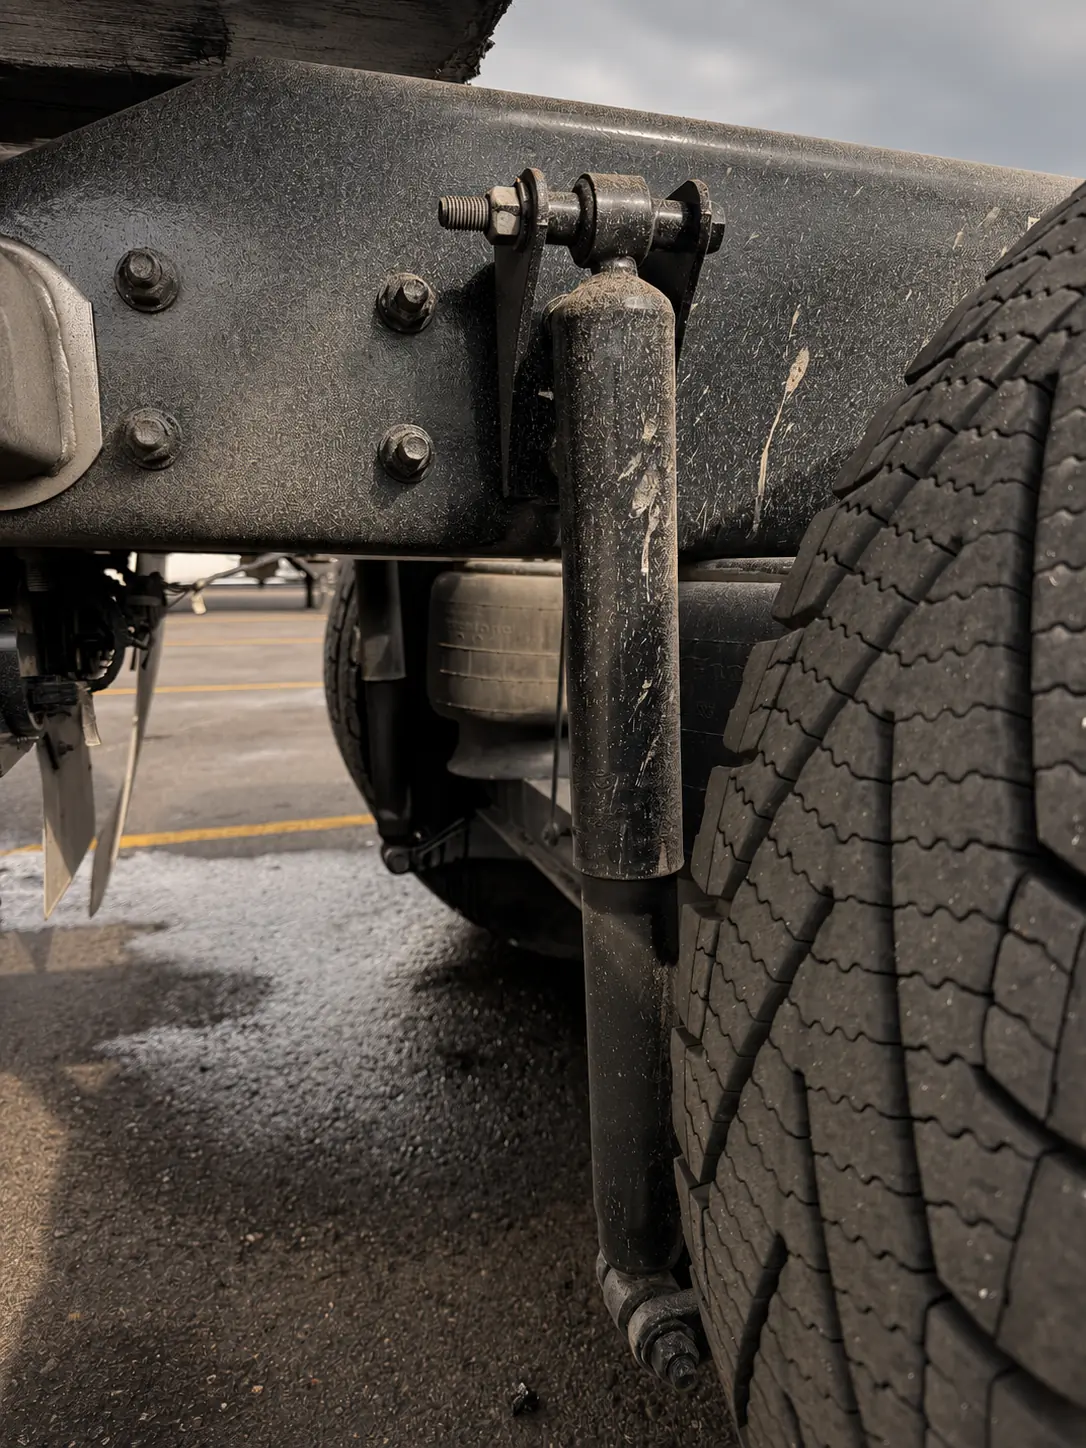
BeforeOriginal rear drive axle right shock with four frame bolts on the left and a pale scratch on the right
AfterReplacement rear drive axle right shock beside the same four frame bolts and pale scratch

Repair transformation

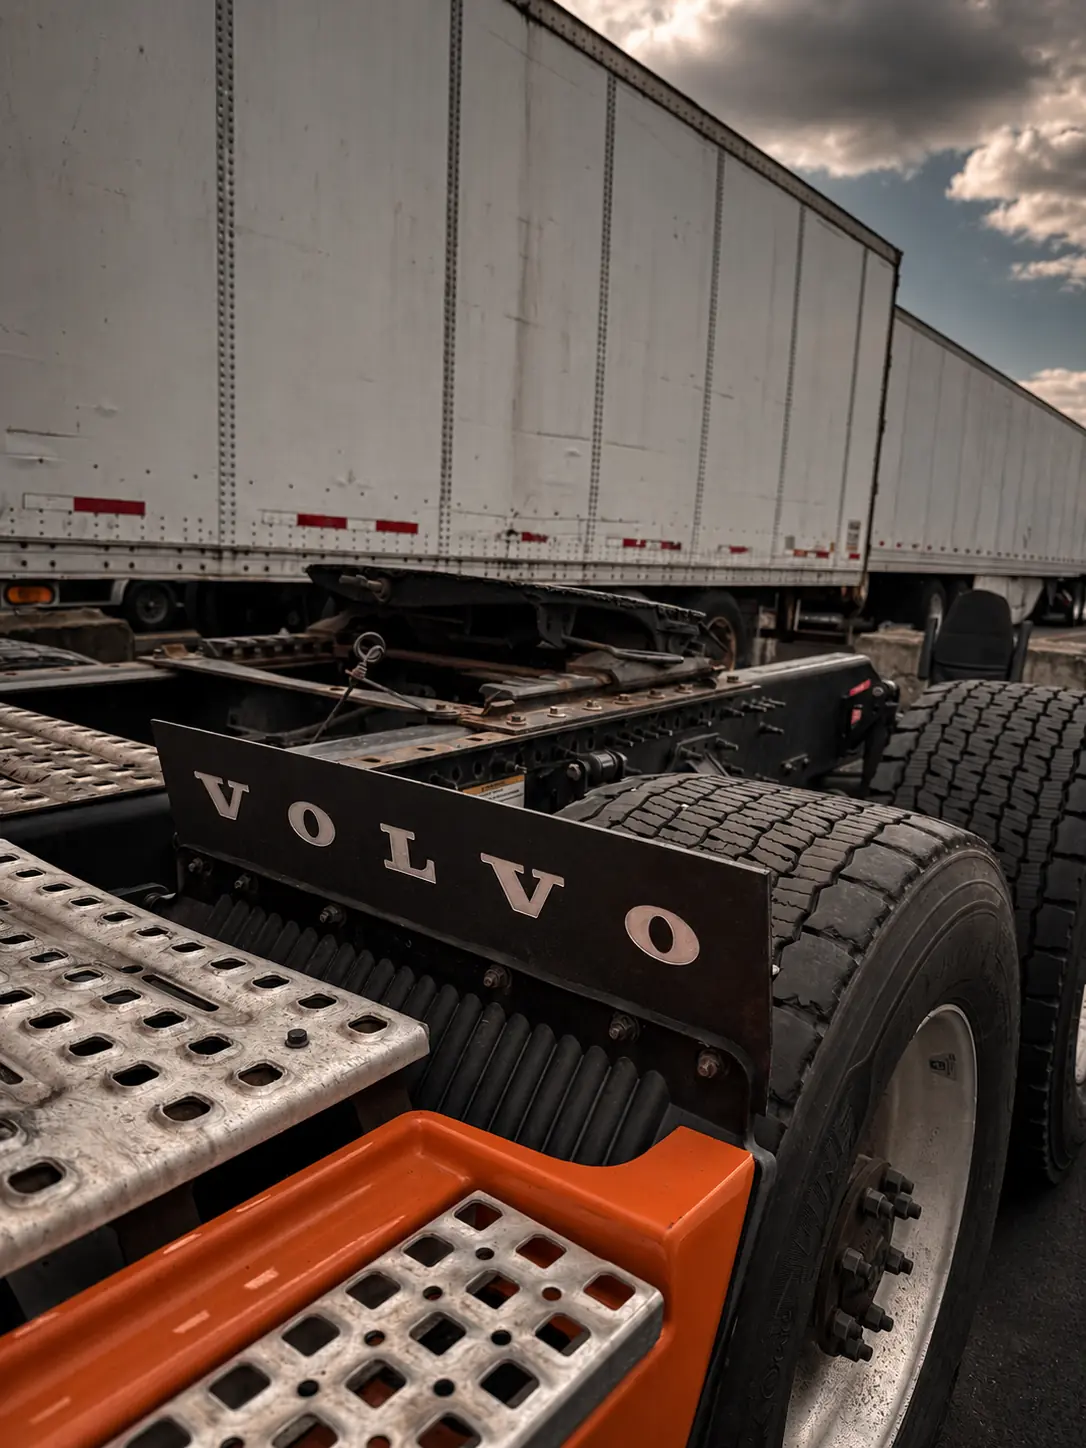
Orange Volvo — Left Mudflap

Left side, viewed from behind the truck. The original mudflap and mounting area alongside the repaired assembly with its Volvo top plate.
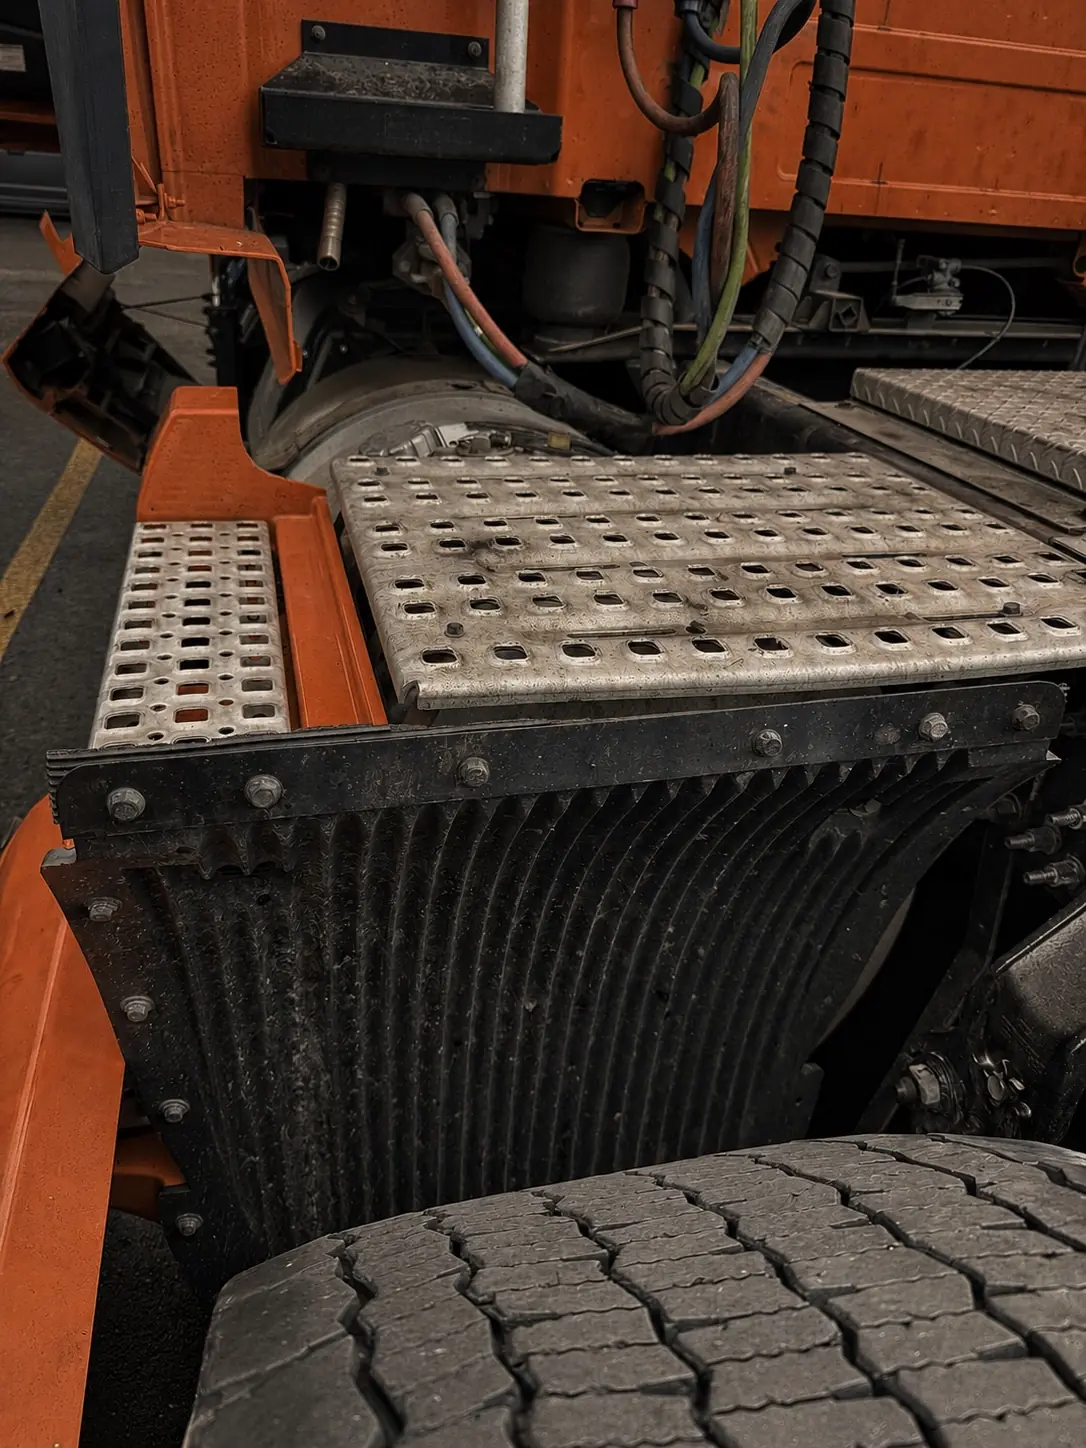
BeforeOrange Volvo left-side mudflap and mounting hardware before repair, viewed toward the cab
AfterRepaired left-side mudflap with Volvo top plate, viewed rearward with the tire on the right

Repair transformation

Orange Volvo — Right Mudflap

Right side, viewed from behind the truck. The original mudflap and mounting area alongside the repaired assembly with its Volvo top plate.
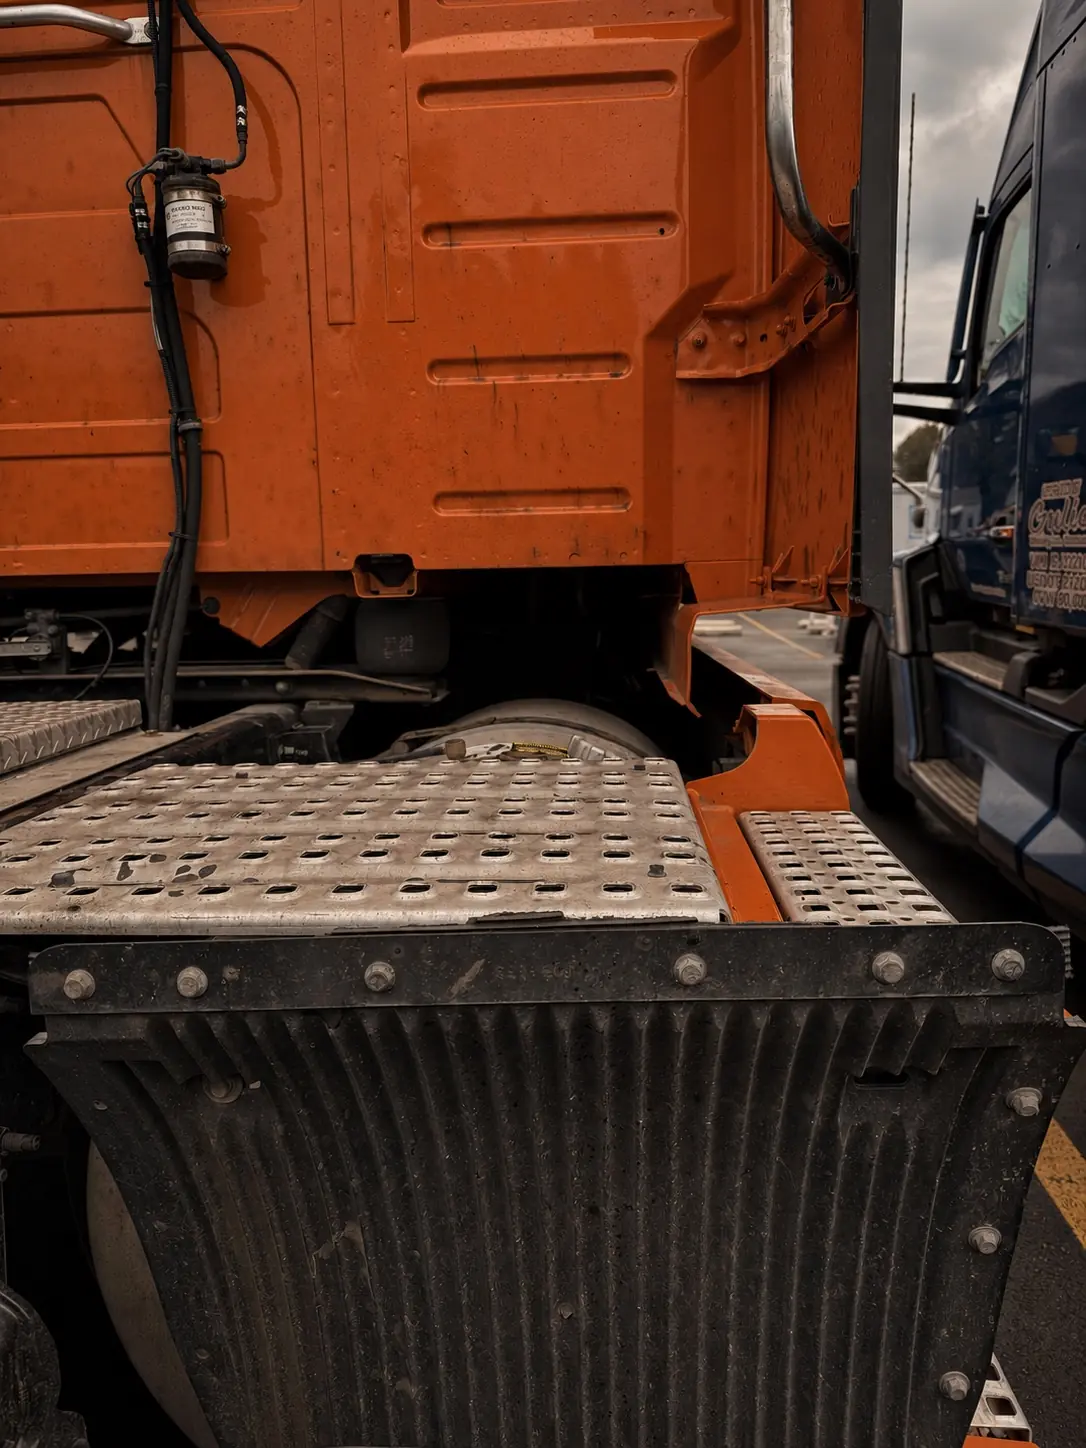
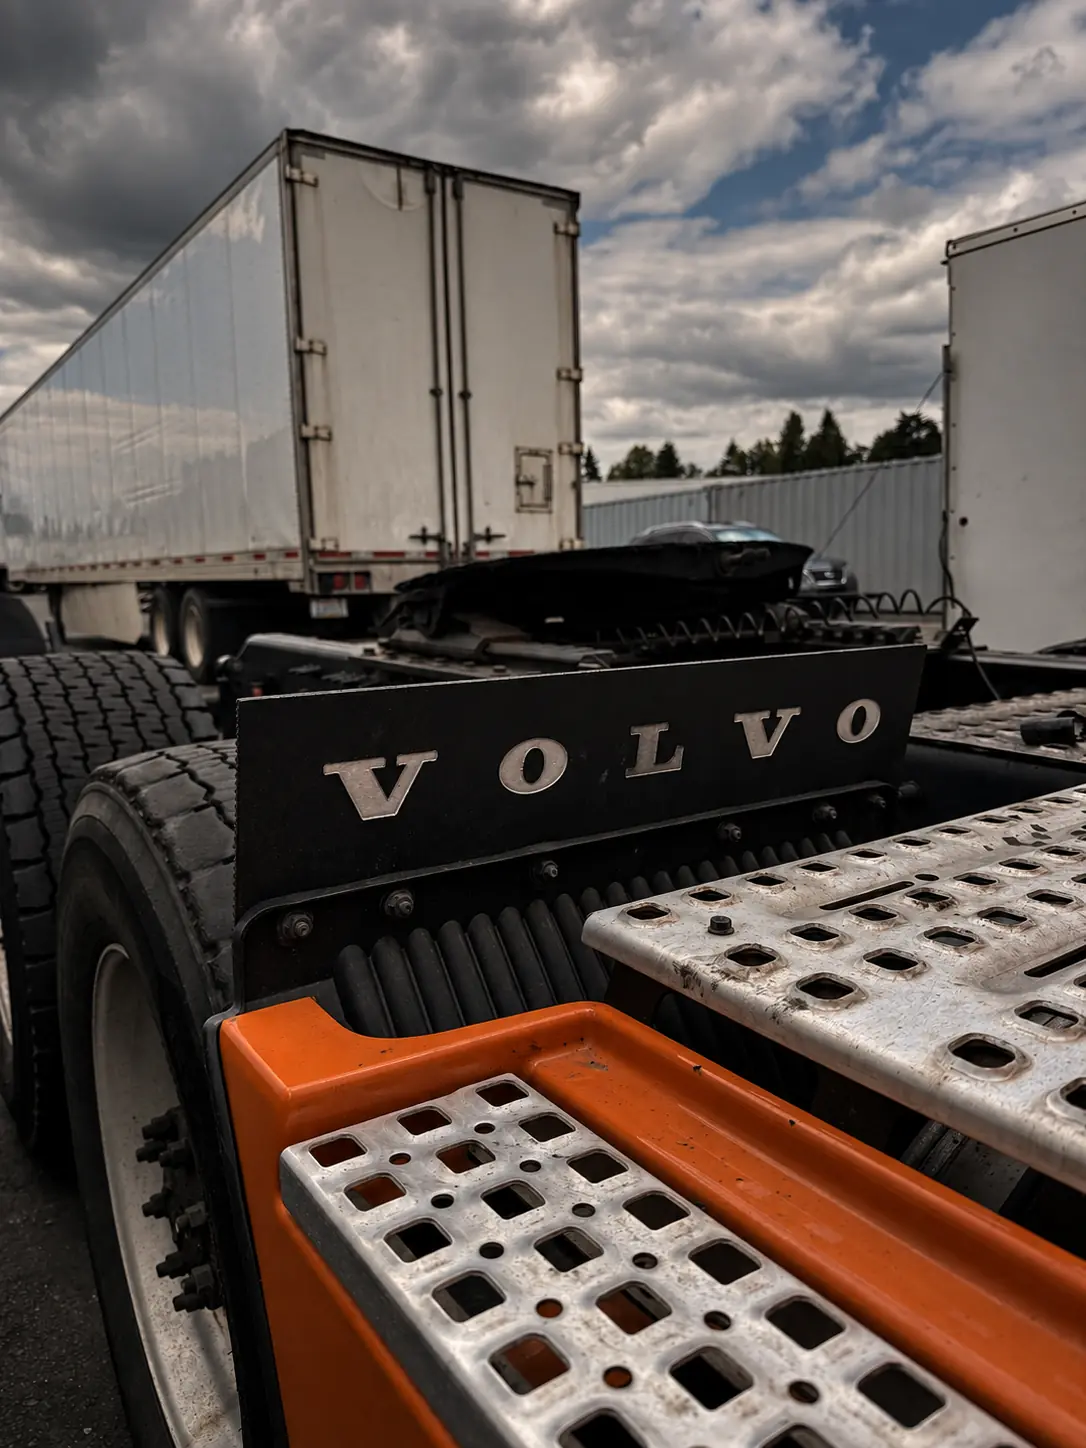
BeforeOrange Volvo right-side mudflap before repair, with an adjacent blue truck beside the cab
AfterRepaired right-side mudflap with Volvo top plate, viewed rearward with the tire on the left

Repair transformation

Orange Volvo — Trailer Hookups

Original trailer air and electrical connections alongside the replacement lines, protective wrap, and suspended line supports.
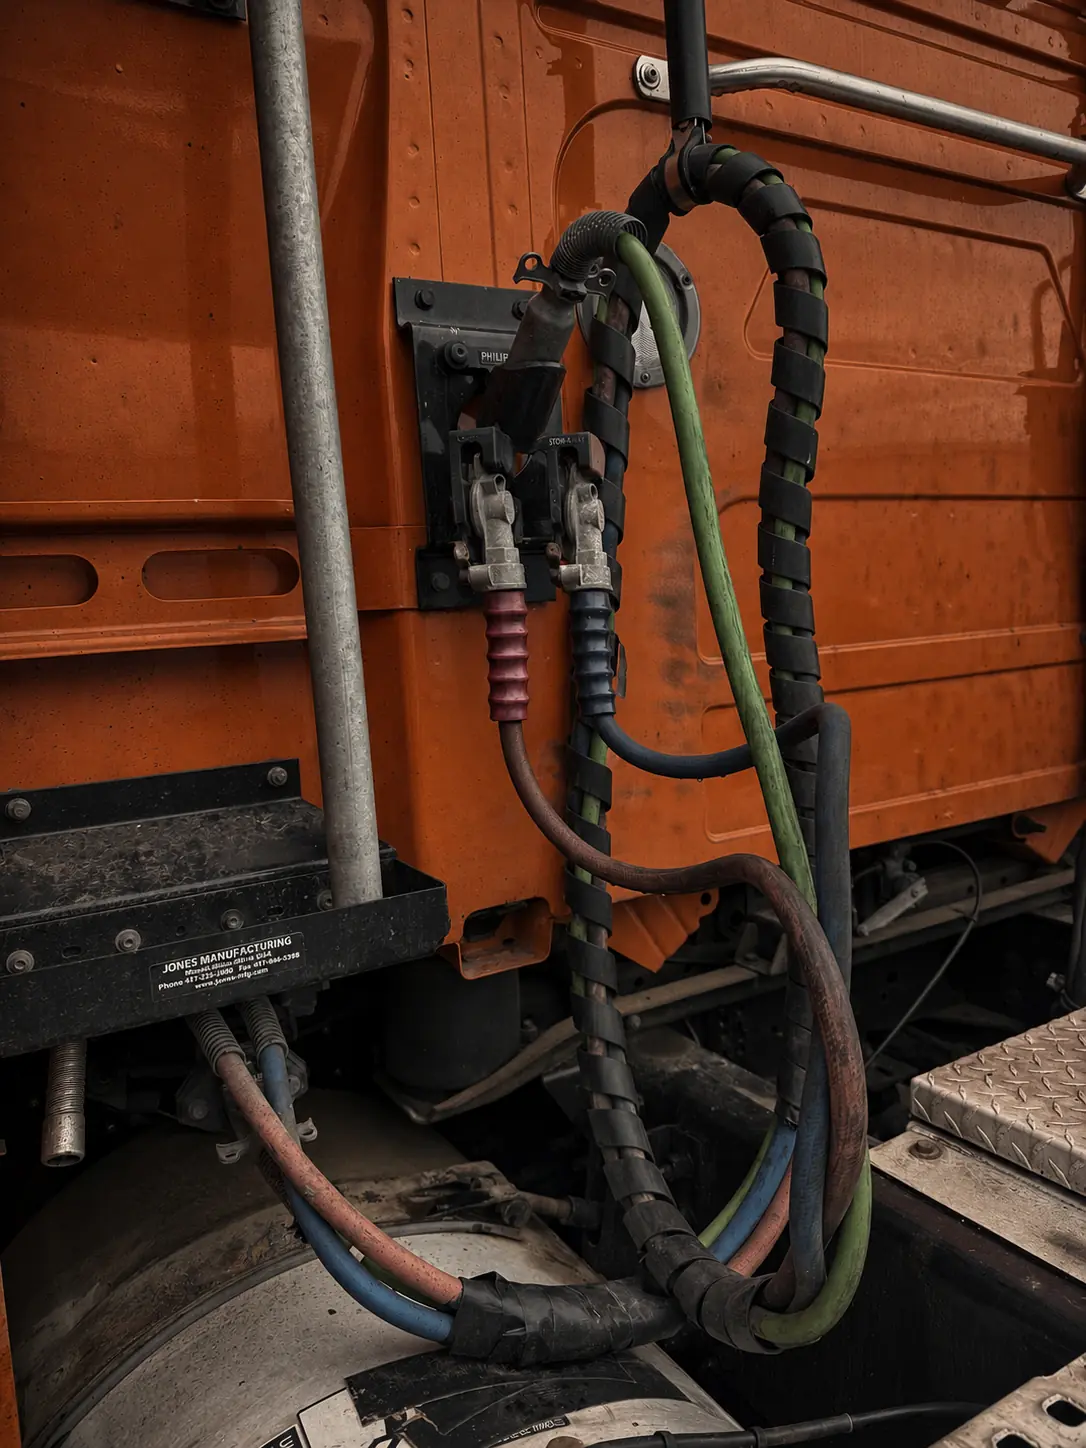
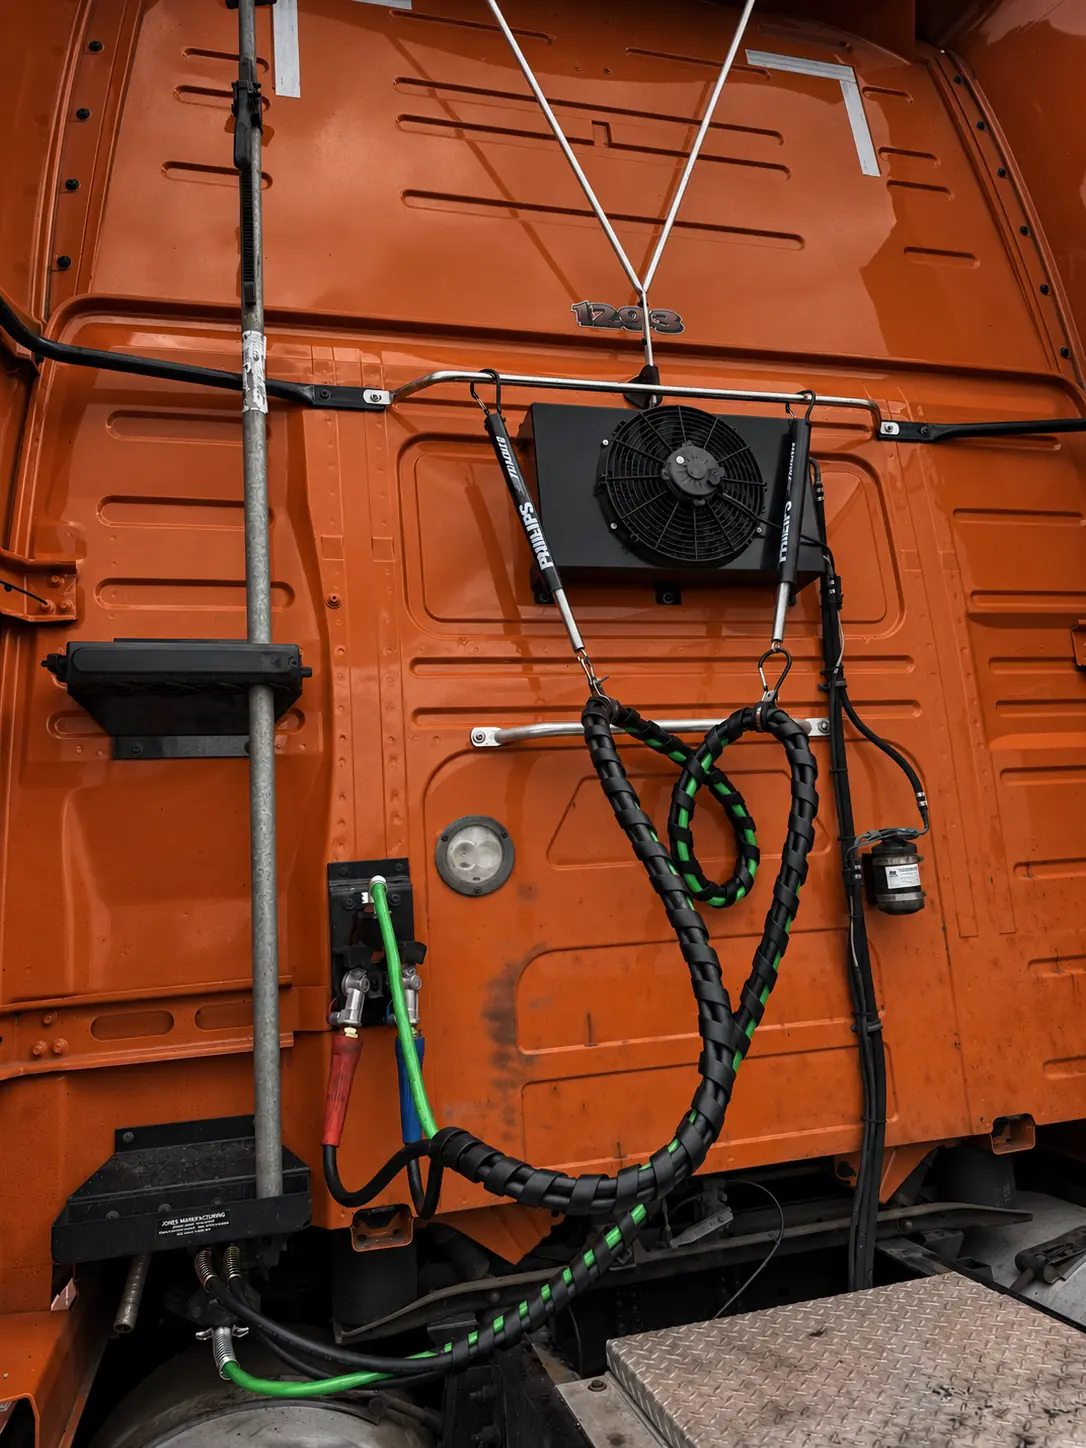
BeforeOriginal worn trailer air lines and electrical cable on the orange Volvo
AfterReplacement trailer connections with black protective wrap and suspended line supports on the orange Volvo

Repair transformation

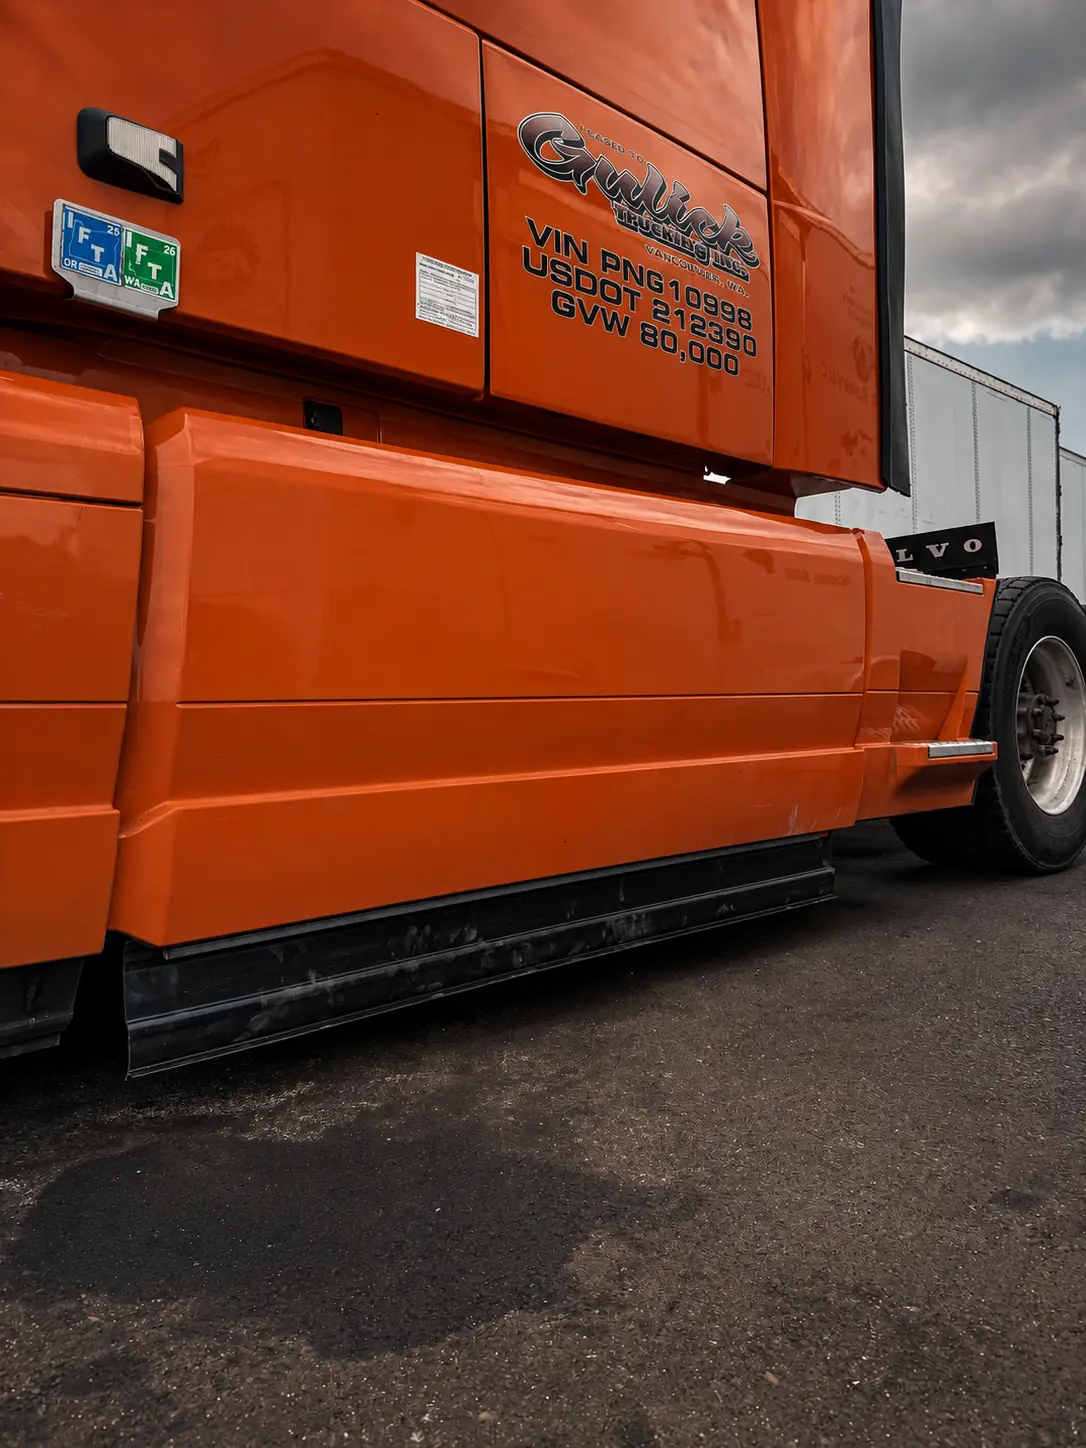
Orange Volvo — Lower Side Skirt

The broken lower skirt beneath the orange side fairing, followed by the completed repair on the same truck.
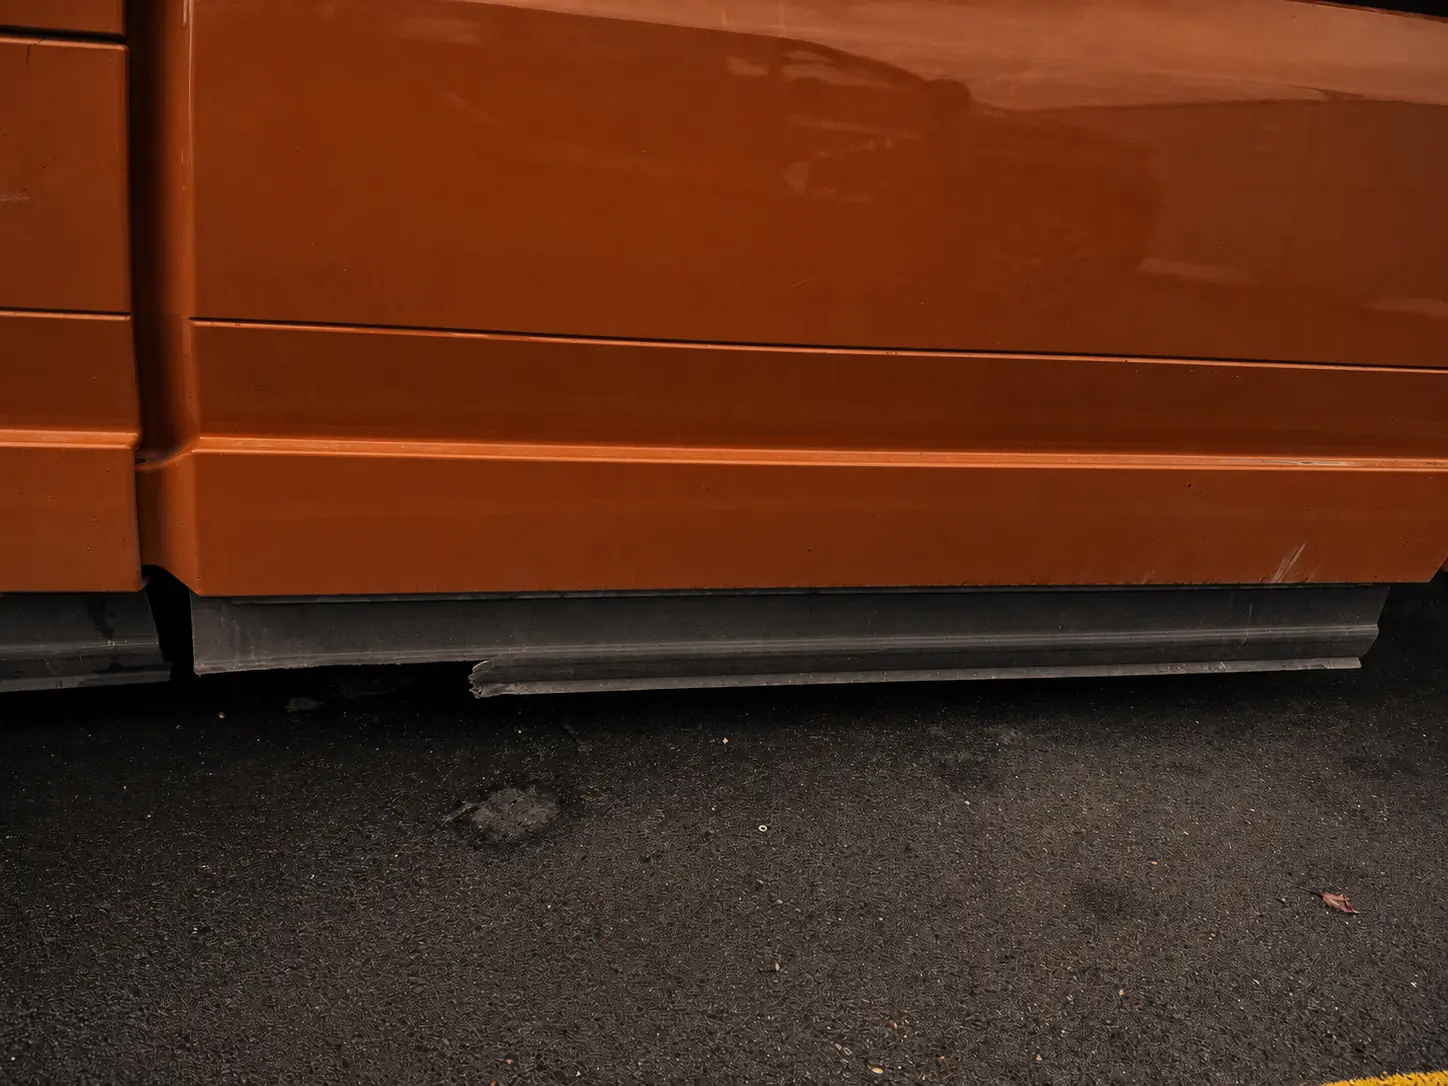
BeforeBroken black lower side skirt beneath the orange Volvo fairing before repair
AfterOrange Volvo side fairing with the repaired black lower skirt

Repair transformation

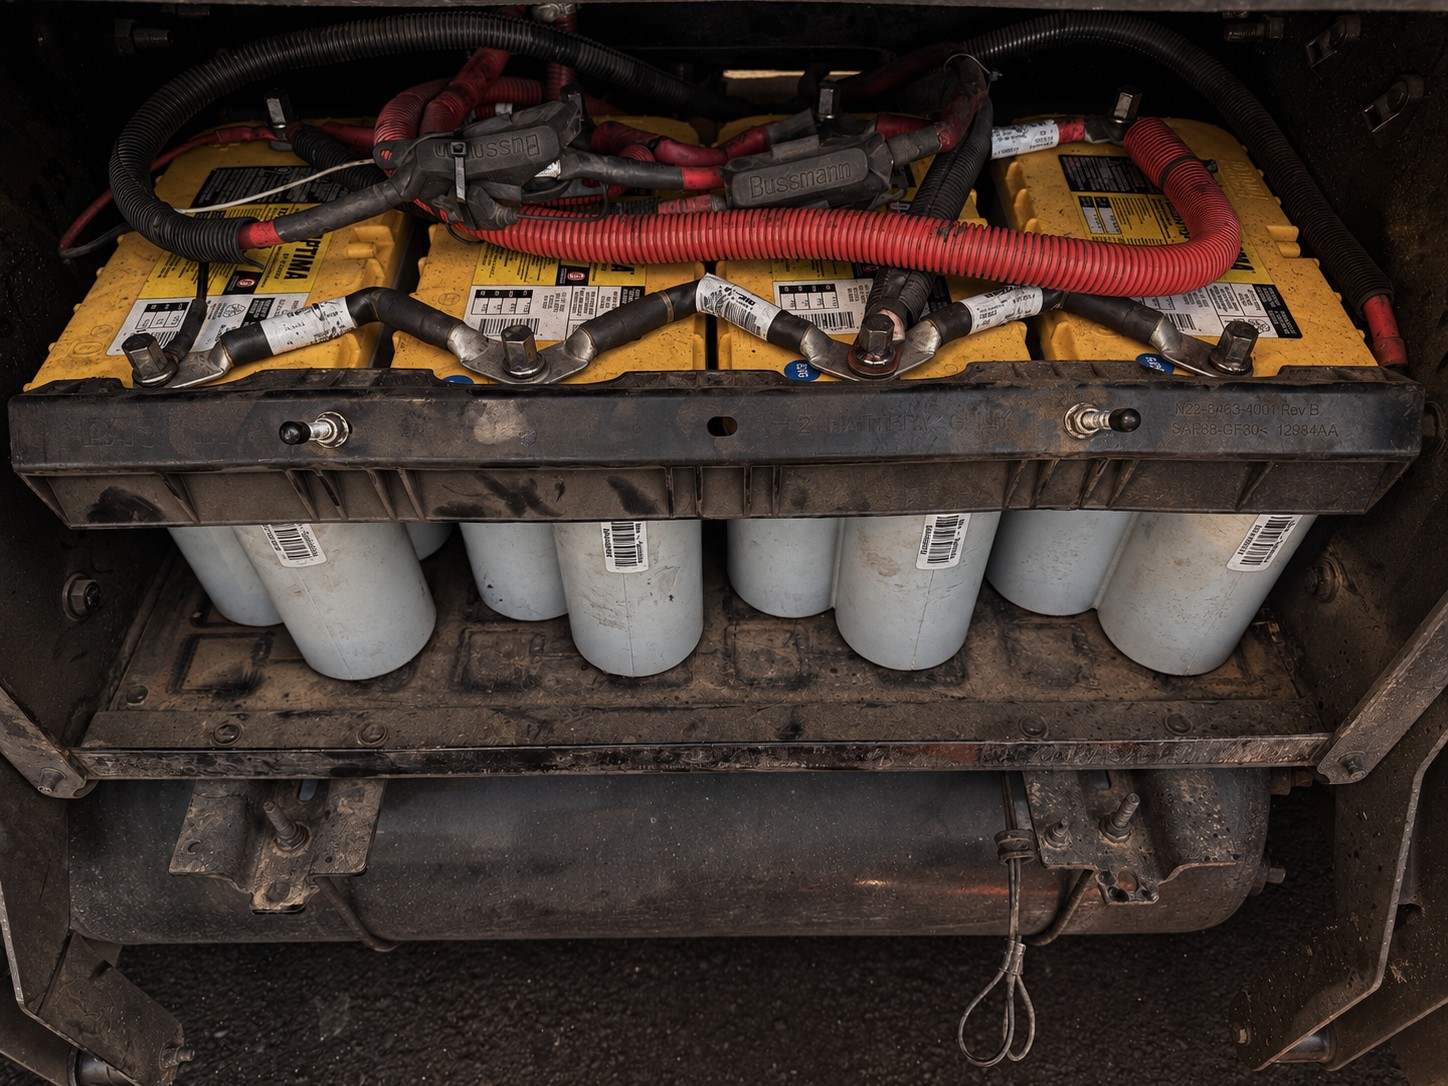
Optima Battery Installation

Four original truck batteries replaced with four Optima batteries. Before and after from the same truck.
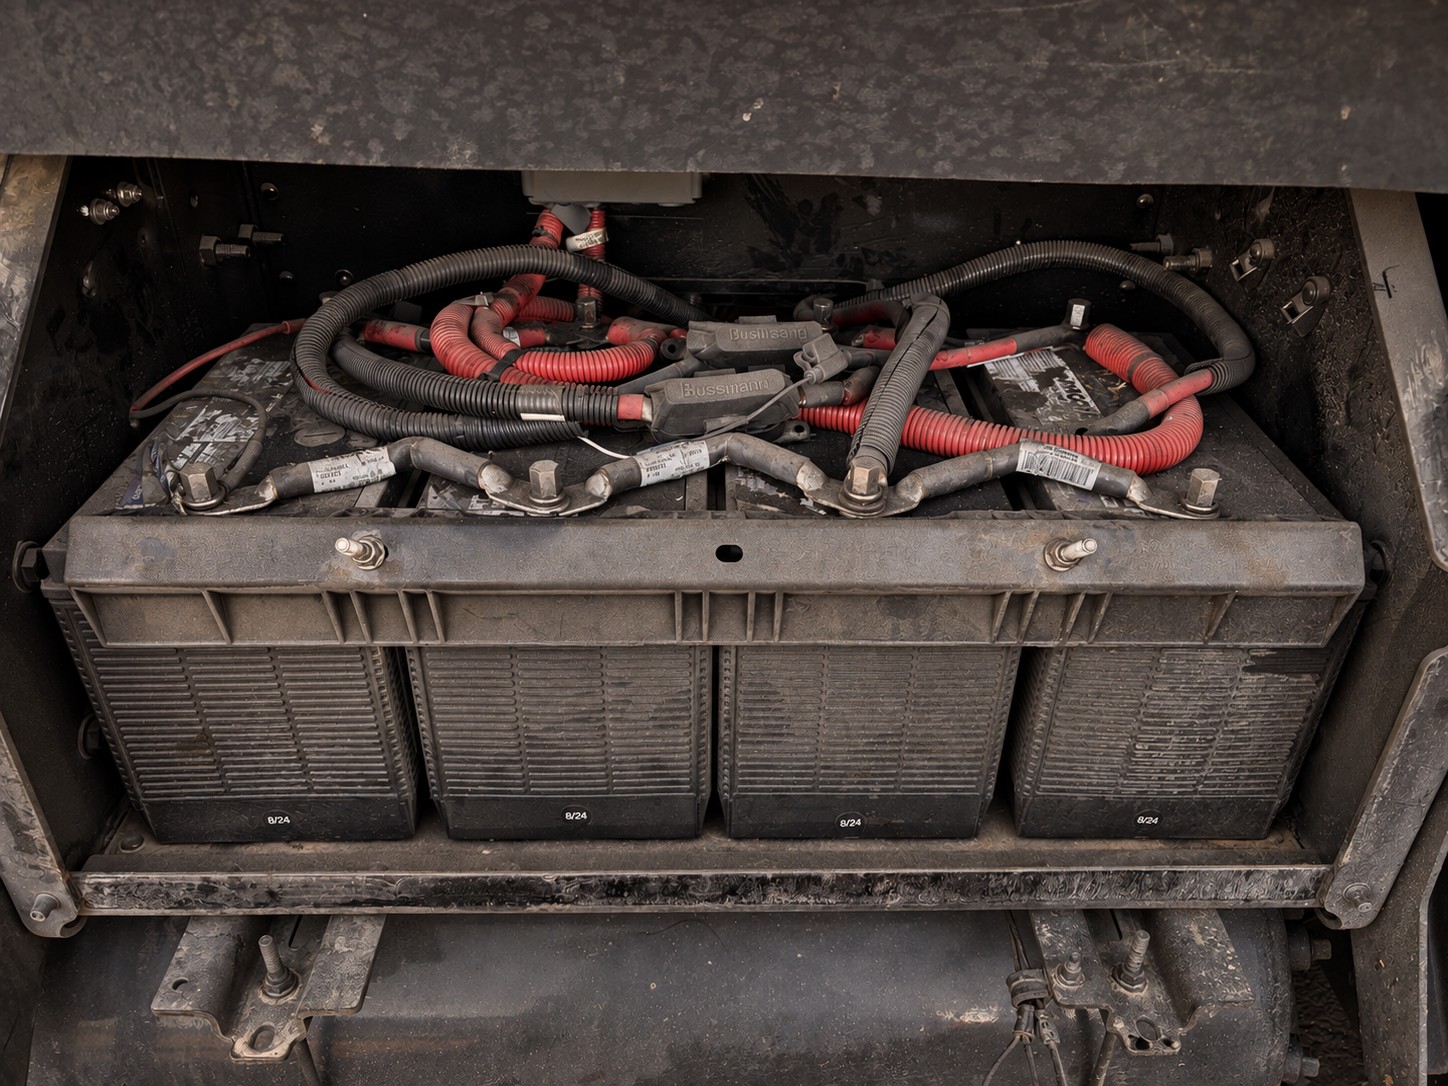
BeforeFour original batteries in the truck before replacement
AfterFour yellow-top Optima batteries installed in the same truck

Repair transformation

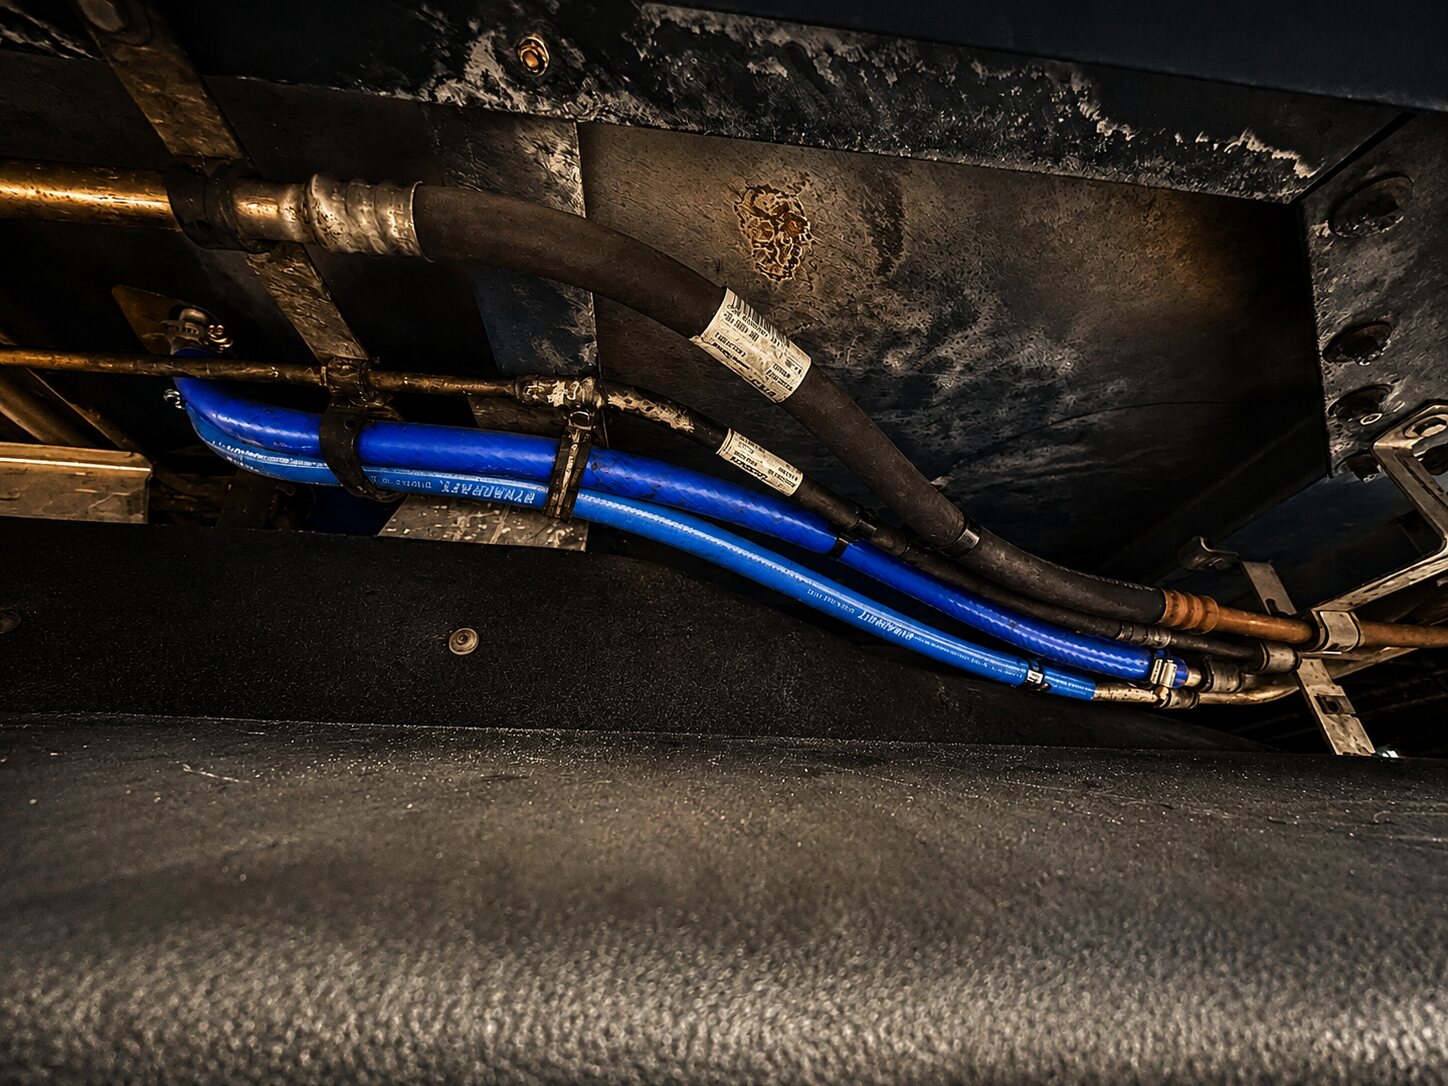
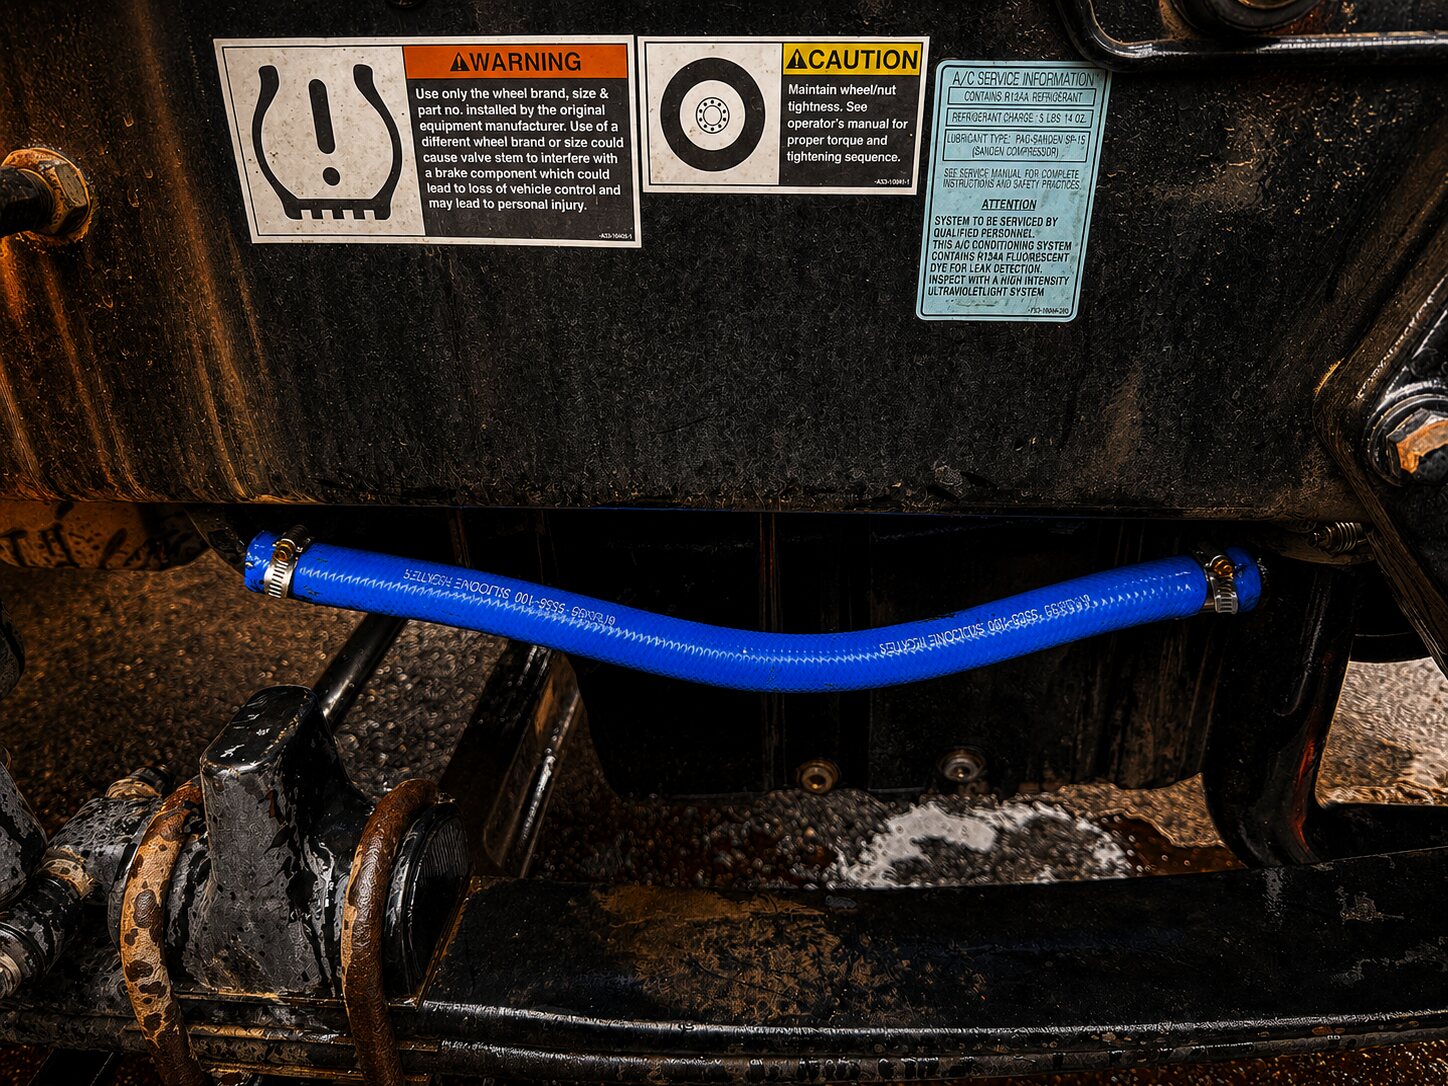
Coolant Hose Replacement

Original aging coolant hoses replaced with new blue silicone hoses and secured with fresh clamps.
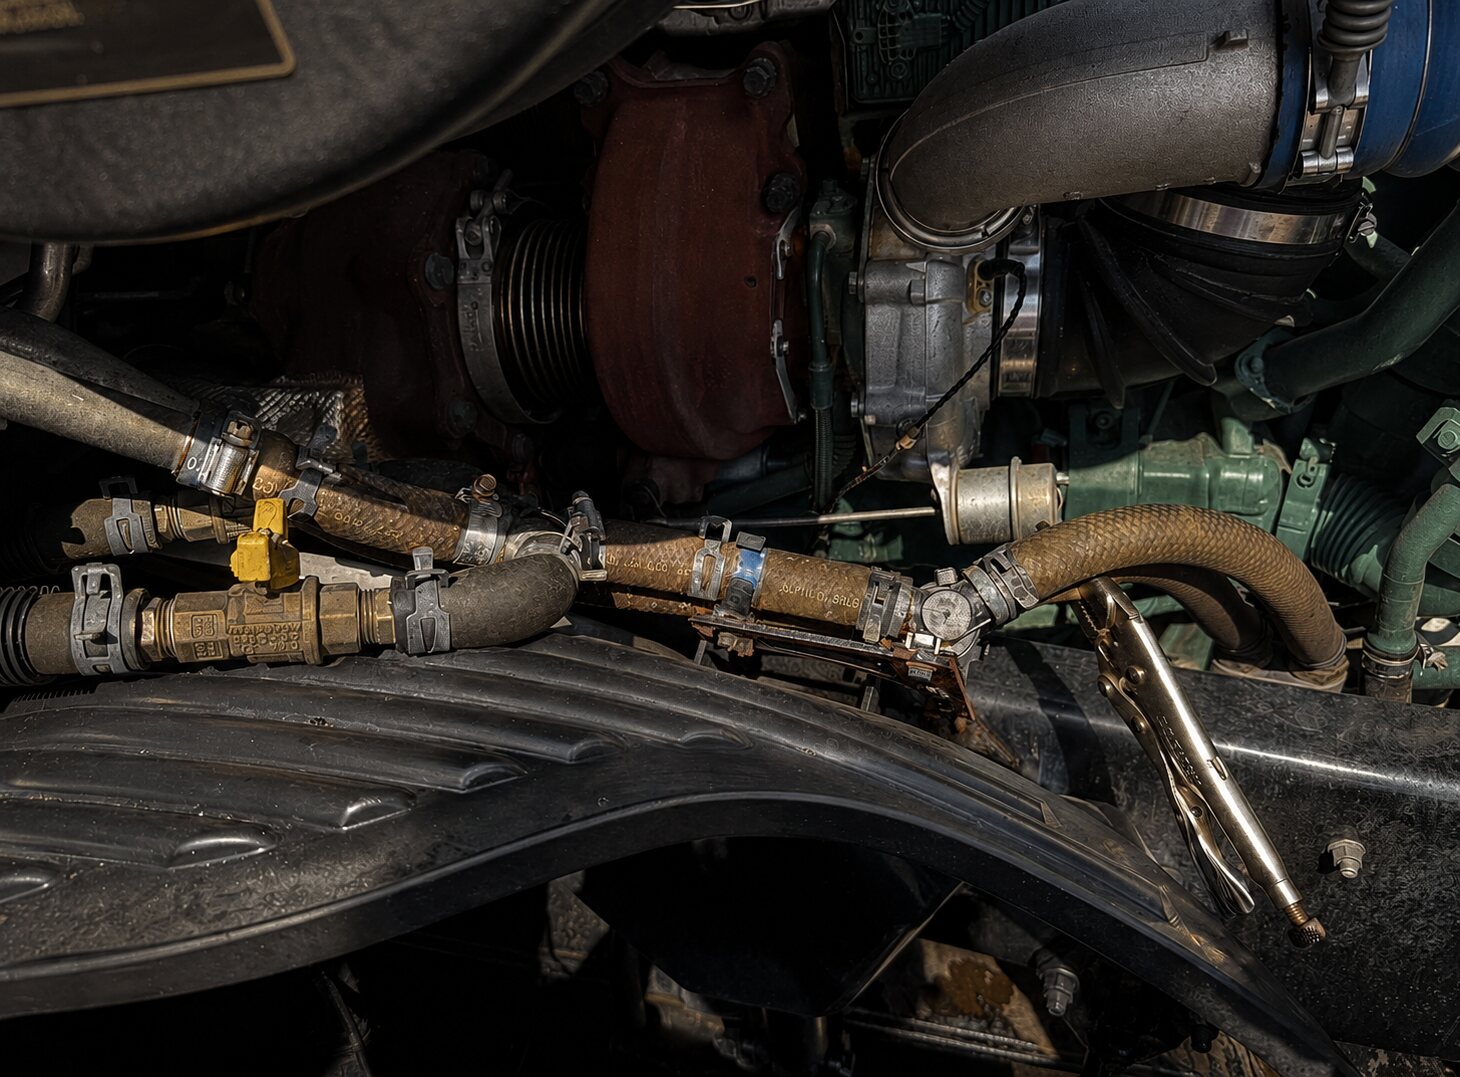
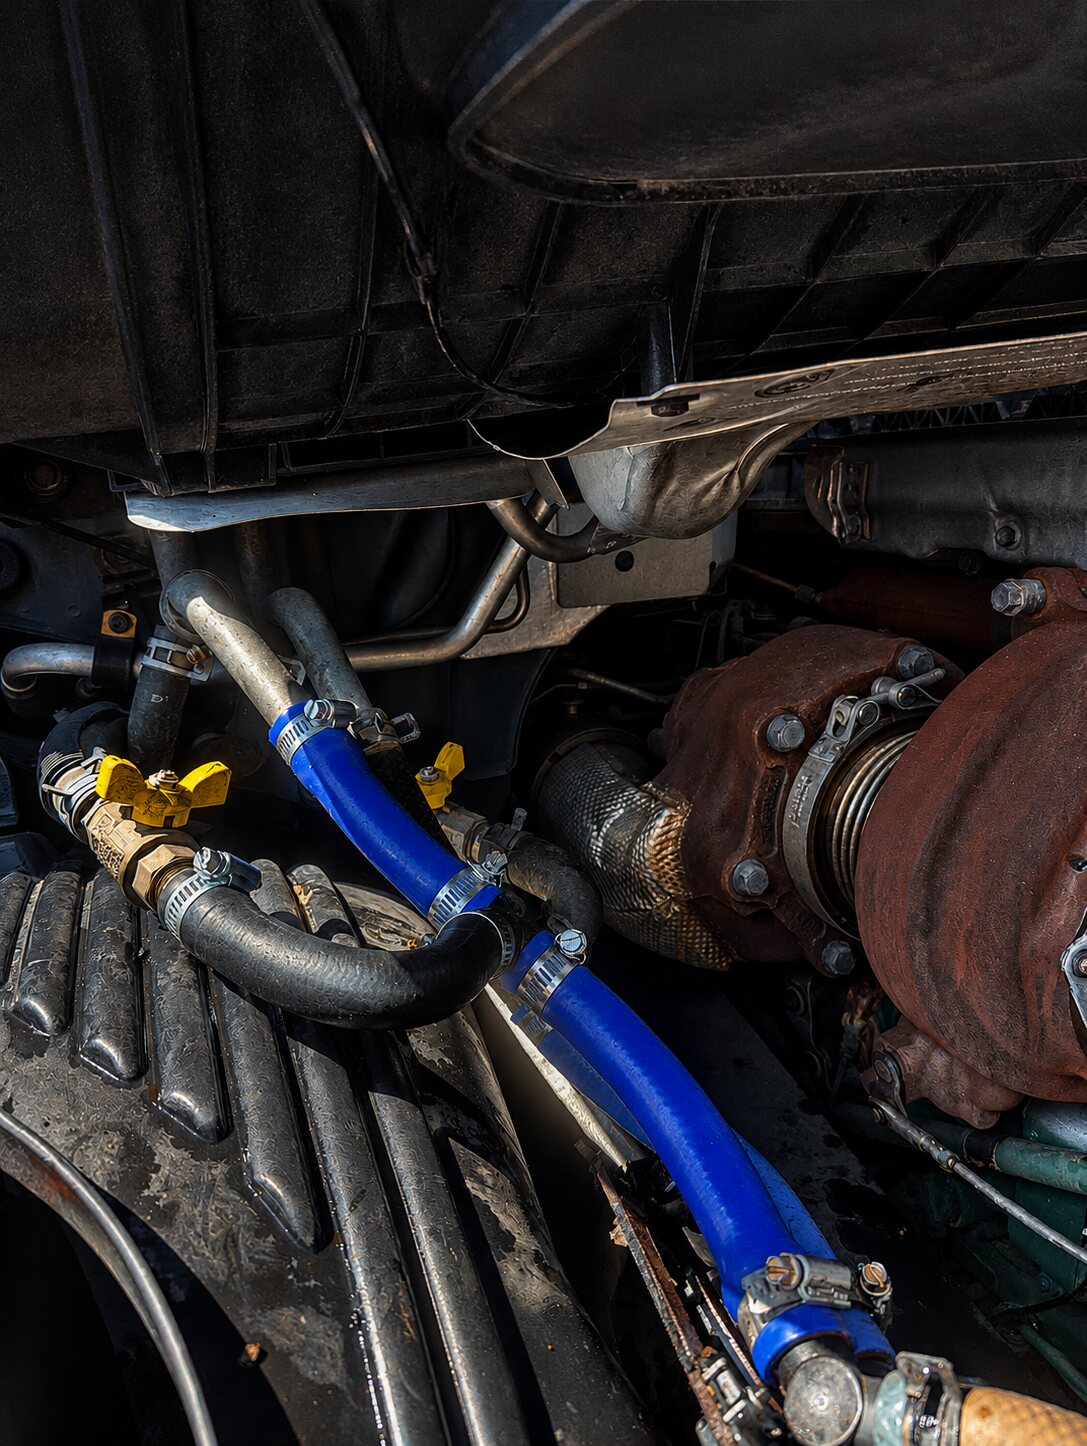
BeforeOriginal semi-truck coolant hoses before replacement
AfterBlue silicone coolant hoses after replacement

Repair transformation

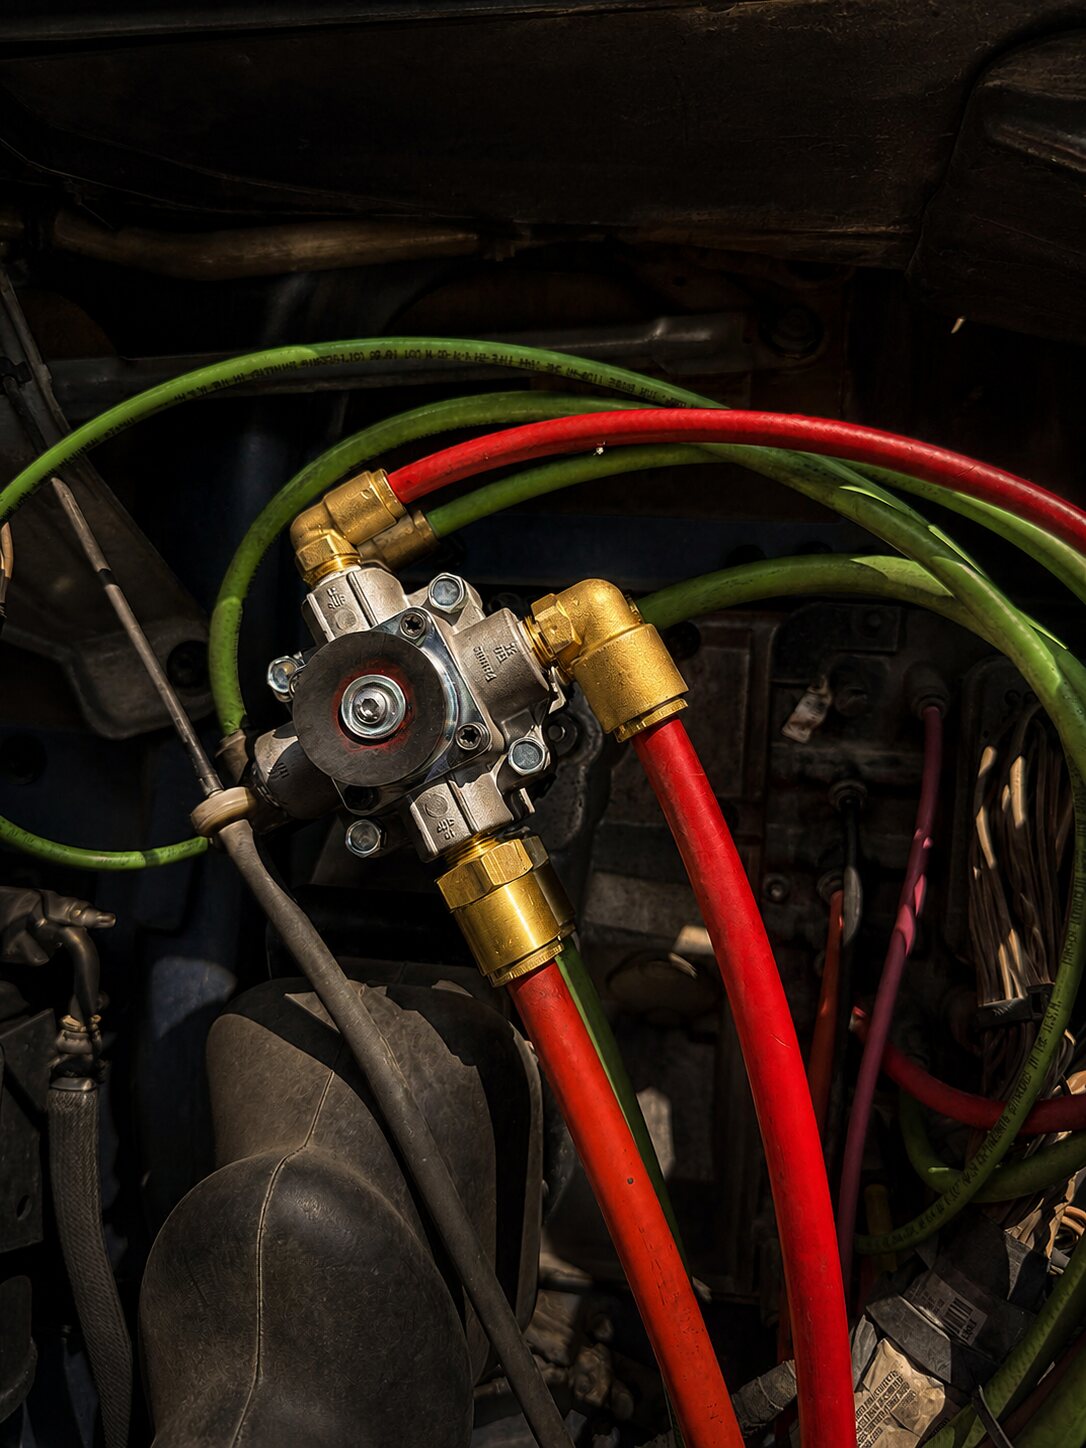
Air Valve Replacement

The original dusty valve and fittings replaced with a clean new assembly.
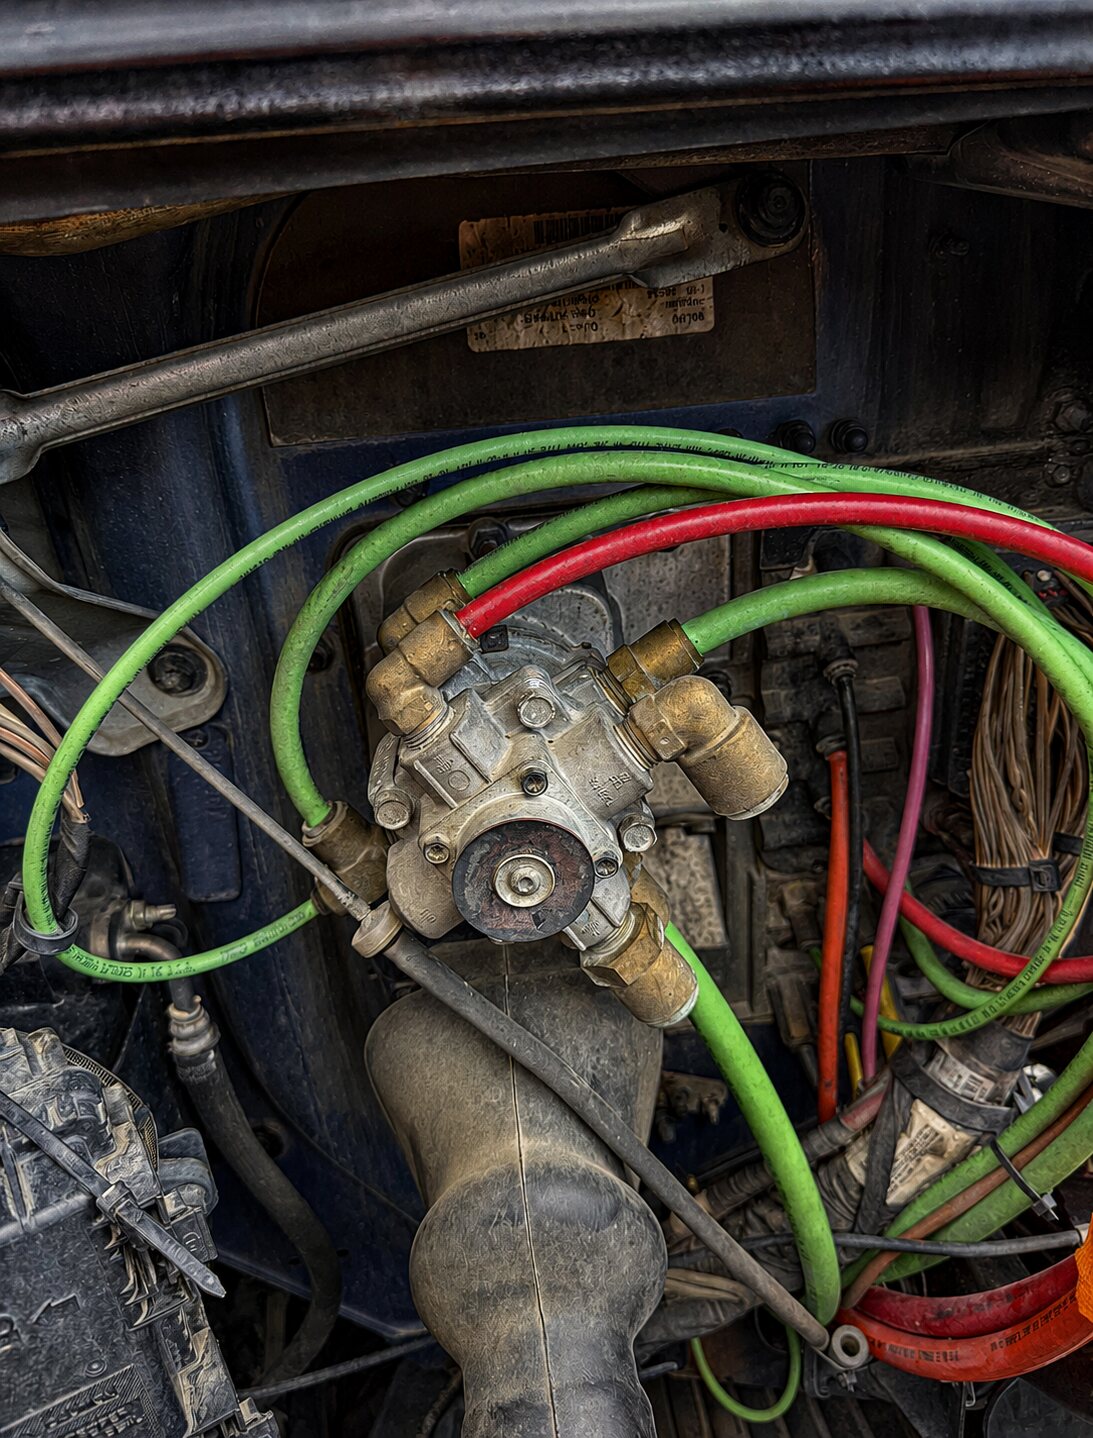
BeforeOriginal semi-truck air valve before replacement
AfterNew semi-truck air valve after replacement

Repair transformation

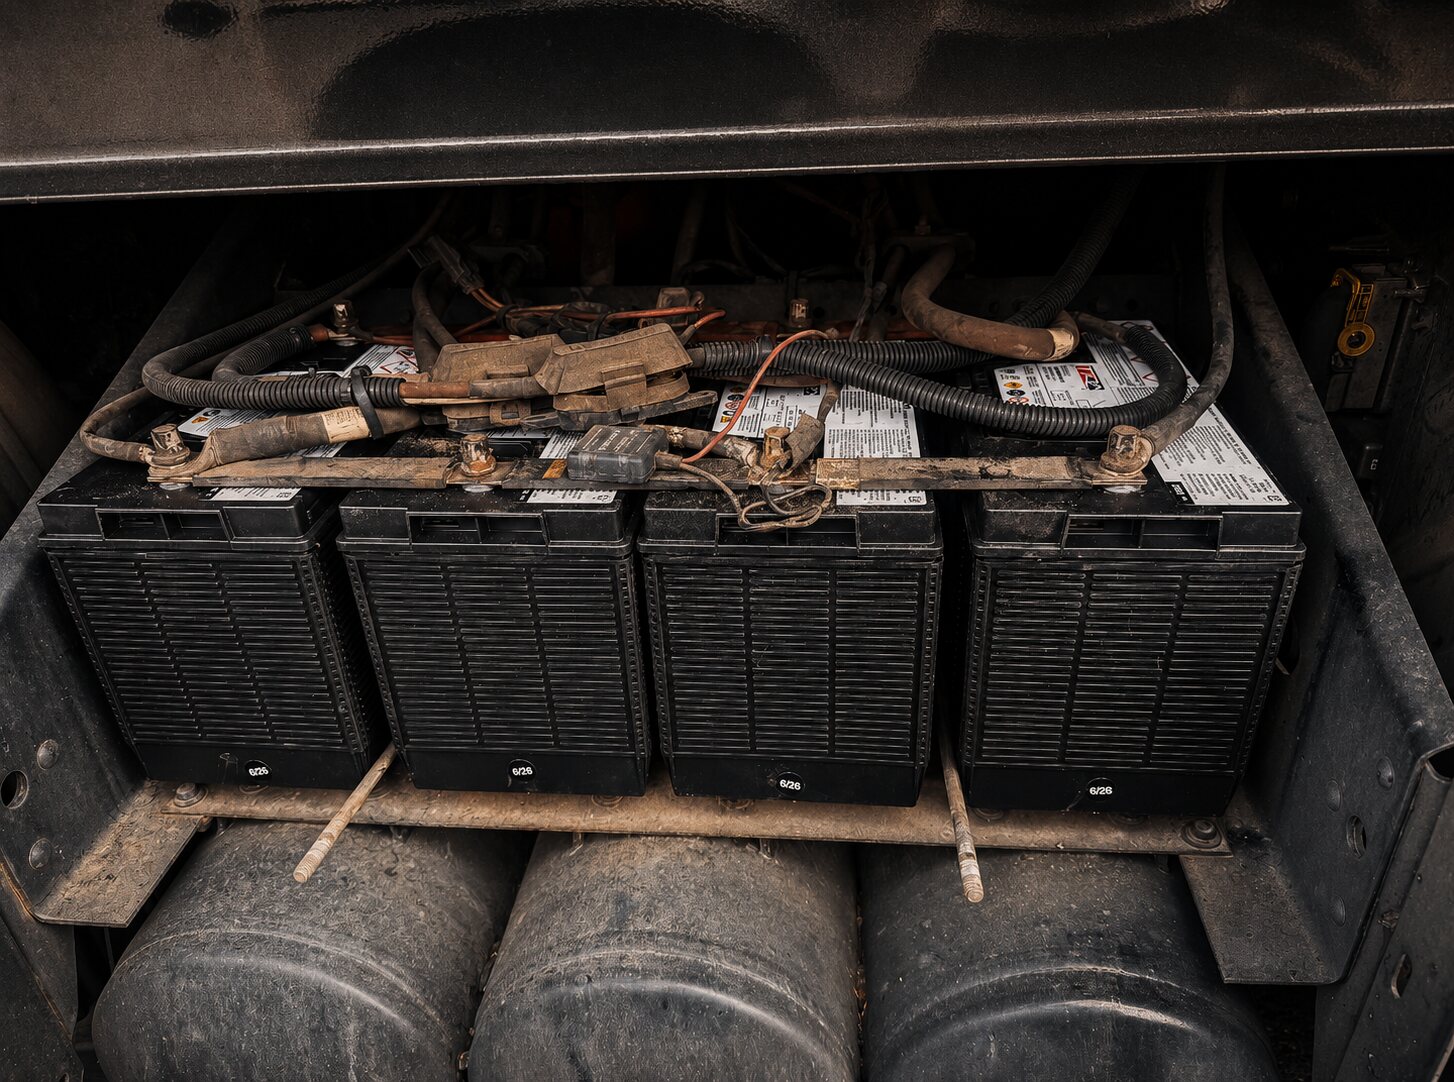
Commercial Battery Replacement

Four aging truck batteries replaced with a complete new commercial battery bank.
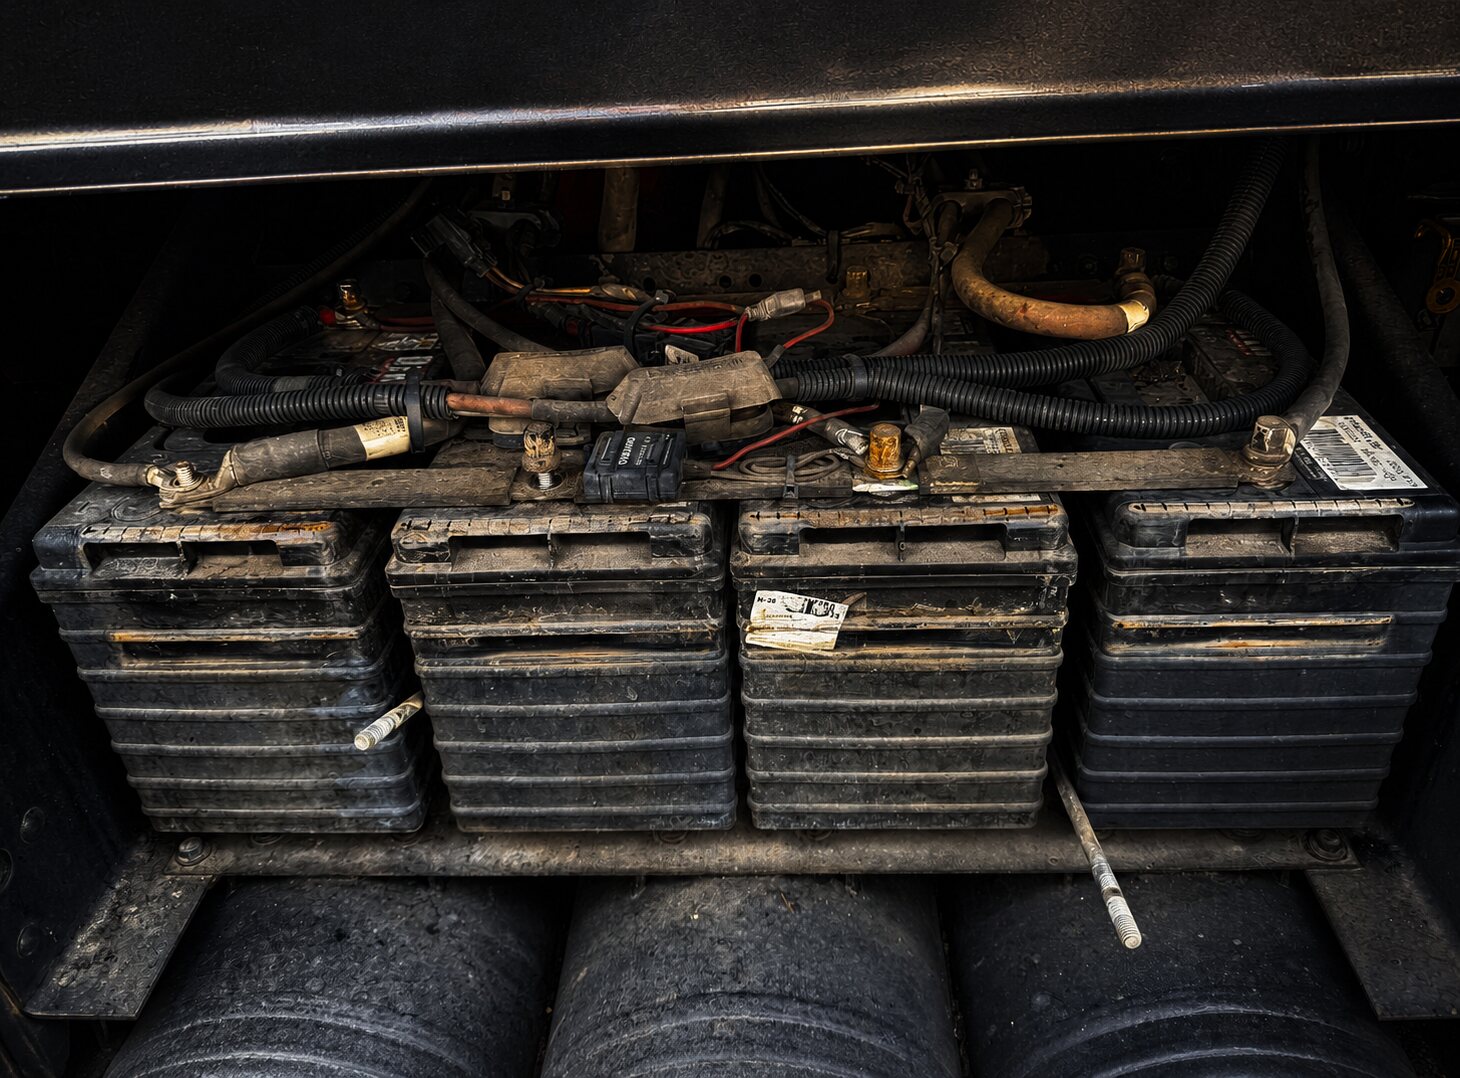
BeforeOld semi-truck battery bank before replacement
AfterFour new semi-truck batteries after replacement

Repair transformation

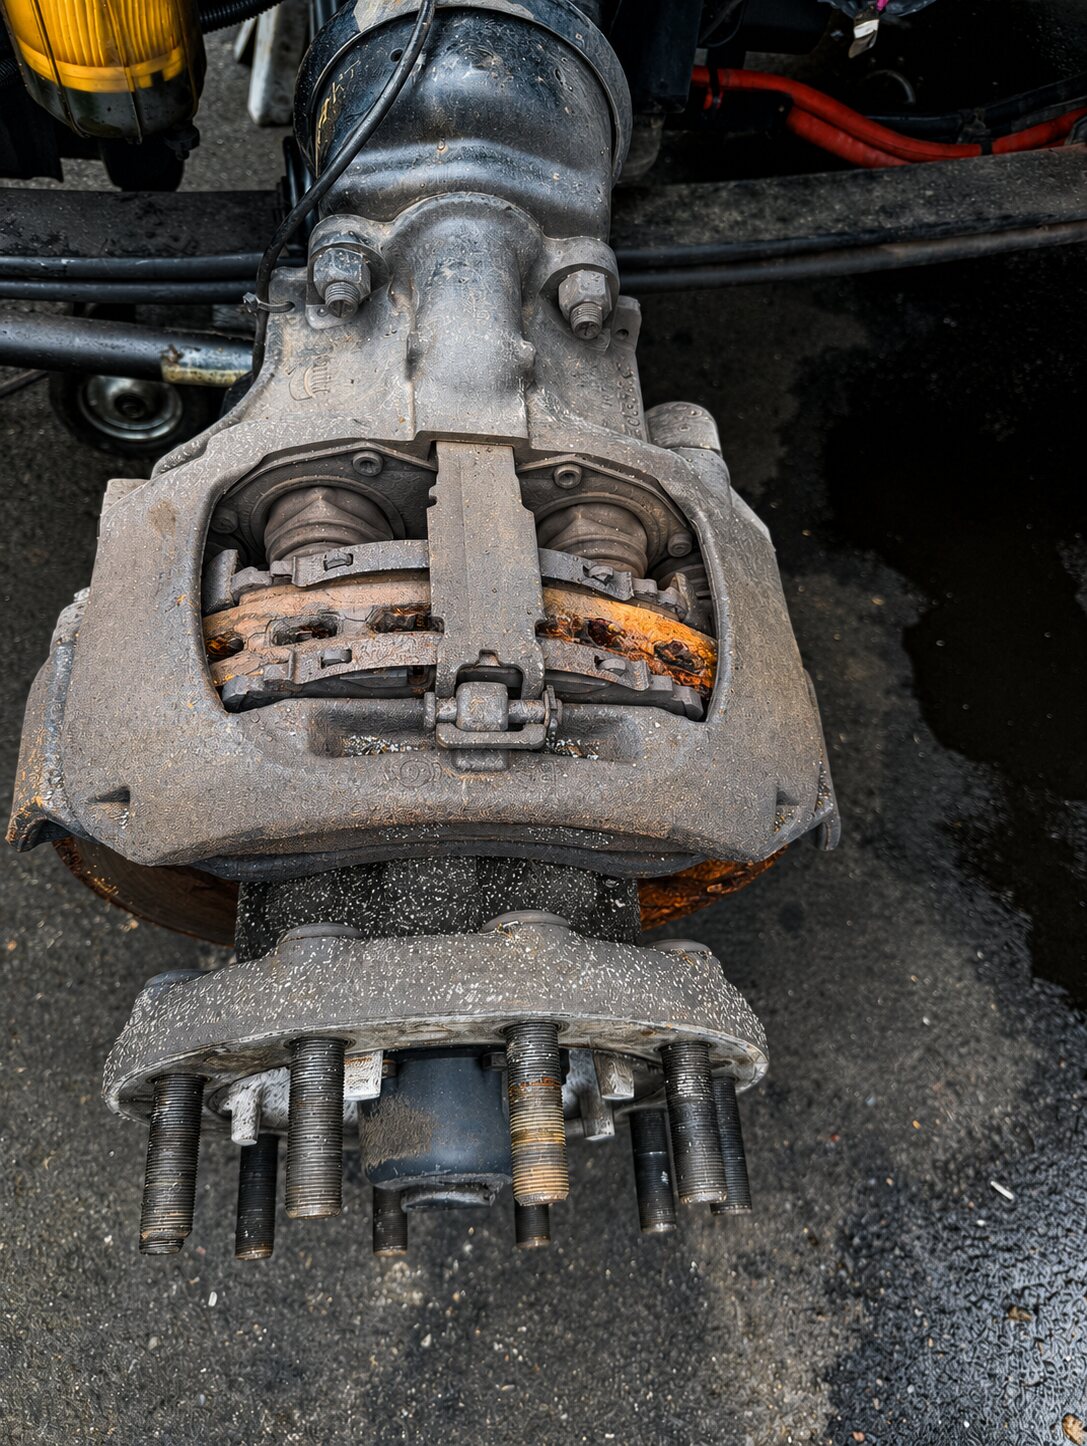
S-Cam Cleaning

Heavy buildup removed from the S-cam so the brake component could be clearly inspected.
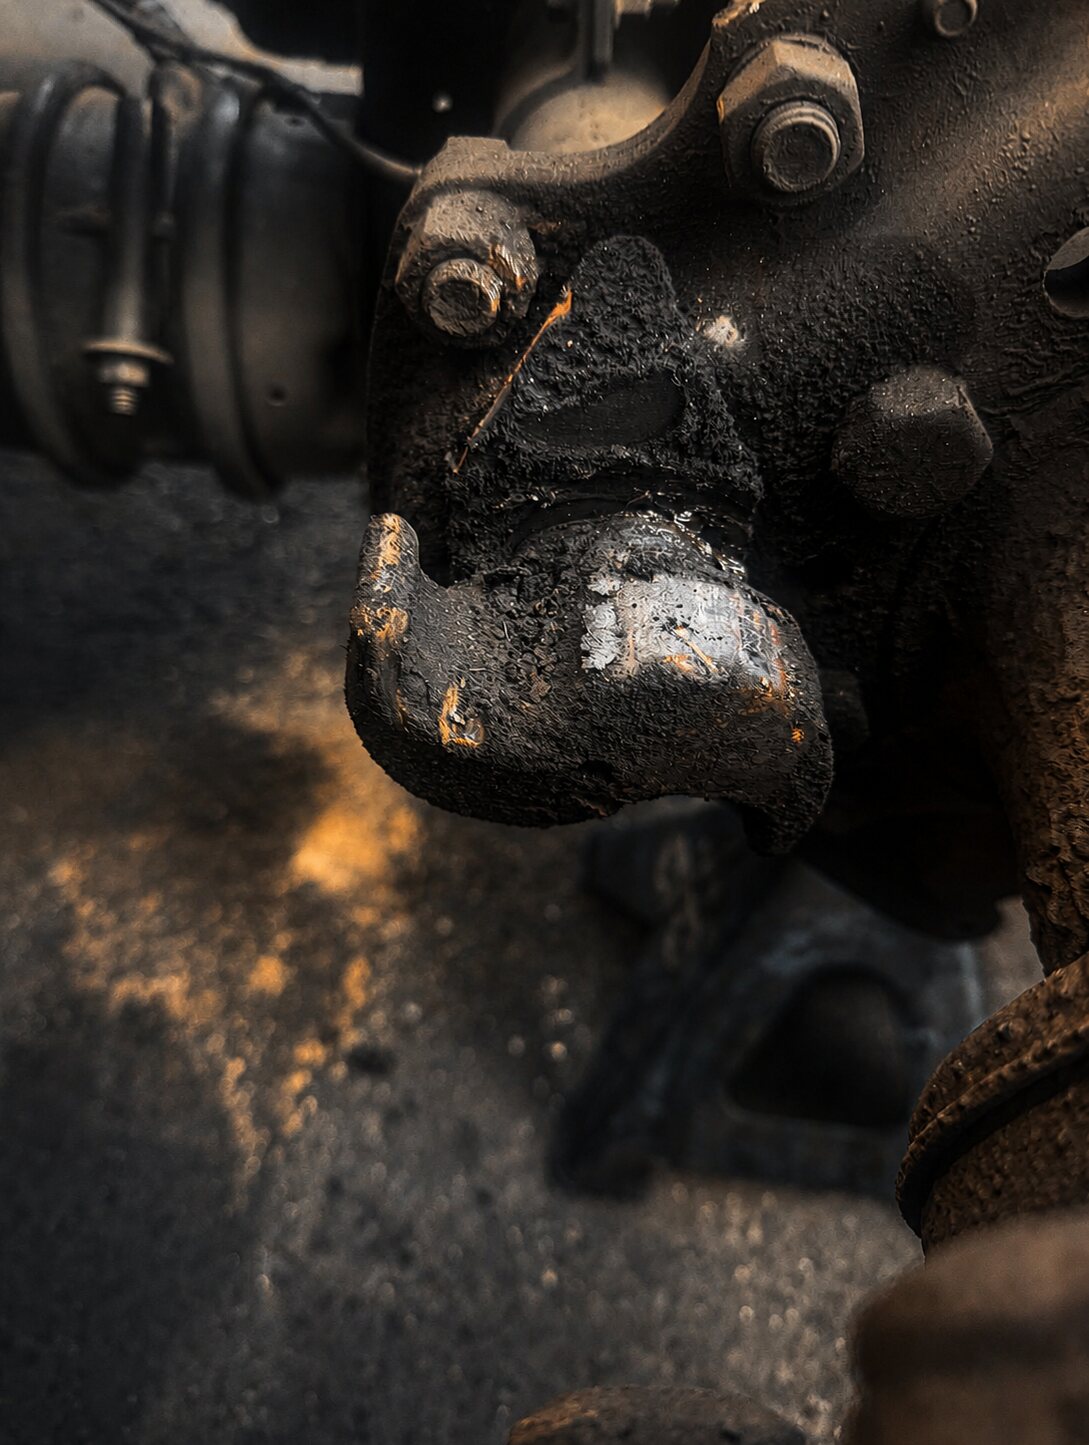
BeforeSemi-truck S-cam before cleaning
AfterSemi-truck S-cam after cleaning

How we approach the job

01

Document the original condition

02

Explain the needed correction

03

Complete the repair correctly

04

Show and verify the finished result

Honest work. Clear communication.

Have a similar repair?

Tell us what your truck or trailer is doing and we’ll help you plan the next step.

Request service